Gurmeet Singh
September 27, 2018

In this tutorial, I’m going to show you how to build a blog powered by Angular and hosted on the Cosmic App Server.
TL;DR
Download the GitHub repo.
Check out the demo.
Prerequisites
You’ll need the node JS, npm and Angular cli pre-installed. Make sure you already have them before you start. You can refer to Angular docs on how to do this.
Getting Started
Here we are going to create the Angular project. We’ll use ng cli to do it. So once you’ll have all prerequisites installed, you’ll need to setup the new Angular project:
ng new cosmic-angular
It will install the Angular app on your system with the name “cosmic-angular”. Now run the following commands:
cd cosmic-angular
ng serve --open
It will run your app on the browser on default port 4200 i.e. http://localhost:4200/
Setting things up with Cosmic
Start by creating the bucket and remember the bucket name:
Then create a new object type named ‘blogs’ and please remember the object type slug (’blogs’). It will store all the blogs published. Now create a new object name ‘registeruser’, which will store the information about new users and we will also use it for logging in purpose.
You'll also need to create the Bucket write key. It's necessary to allow users upload blogs and create accounts. Open Settings page and click 'Generate new key' on API Write Access Key then copy generated key and save the changes.

Angular Configuration
Create file: src/config/cosmo.config.ts to match the following:
Keep in mind that, components, services, models and configuration files should be in different folders so that they can be differentiated easily.
Cosmic Service for Angular
We're planning to use Cosmic Objects in more than one Angular component. In such case makes sense to create a dedicated service and store all Cosmic related things such as bucket name, write key, etc in a single place. Let's create src/app/services/cosmic.service.ts with the following contents:
This service has many methods, we are explaining them:
- getUser(): It is used to get details of a registered user
- addUser(): To register the new user
- addBlog(): To save blog to Cosmic server
- showAllBlogs(): To fetch all blogs saved on server
- showBlogs(): Fetch blogs of logged in user
- singlePostHome(): To show single selected blog
- login(): Used to log user in
Cosmic Model for Angular
Create a model under src/app/models/cosmic.model.ts with content:
Here we declared two classes for registering user and for saving blogs on server.
View All Blogs Component
Create src/app/components/allblogs/allblogs.component.ts file with the following content:
Here we imported the cosmic service to hit the API of Cosmic server. The main function showAllBlogs() is fetching complete data from server stored under the object ‘blogs’.
Dashboard Component in Angular
Create dashboard component in component section for logged in users. Here make some navigation for user to add blog, view his own posts, view all posts and for logout too. path of this component will be: src/app/components/dashboard/dashboard.component.ts, and content will be:
In this component we made some navigation Add Blog, My Blogs, All Blogs, Logout with functions addNewBlog(), viewBlogs(), viewAllBlogs() and logout() respectively.
Showing Single Blog
Create a new component to show the selected single post to user with name usersinglepost.component.ts. The code is:
Here we created a method post() which is fetching one blog from the server according to blog_id provided to it.
User Registration - An Angular Part

This is the main part in which you will have to make a register component to register the user, and also it should check the duplicate user at the same time. Path is: src/app/components/register/register.component.ts. The content is:
Here is the main function named register(), which is registering the new user. In which firstly we are checking for duplicate user, and if username already exists it will show a message otherwise it will create new account and navigate to login page.
Logging User In

In this component, we will log the user in by matching provided user details in registeruser object available on server. The content of login.component.ts is:
In login() function we are calling the cosmic server and login() function present there. It is matching the records on cosmic server and saving the user details on local storage to keep the user login.
Exactly What’s Happening Here?
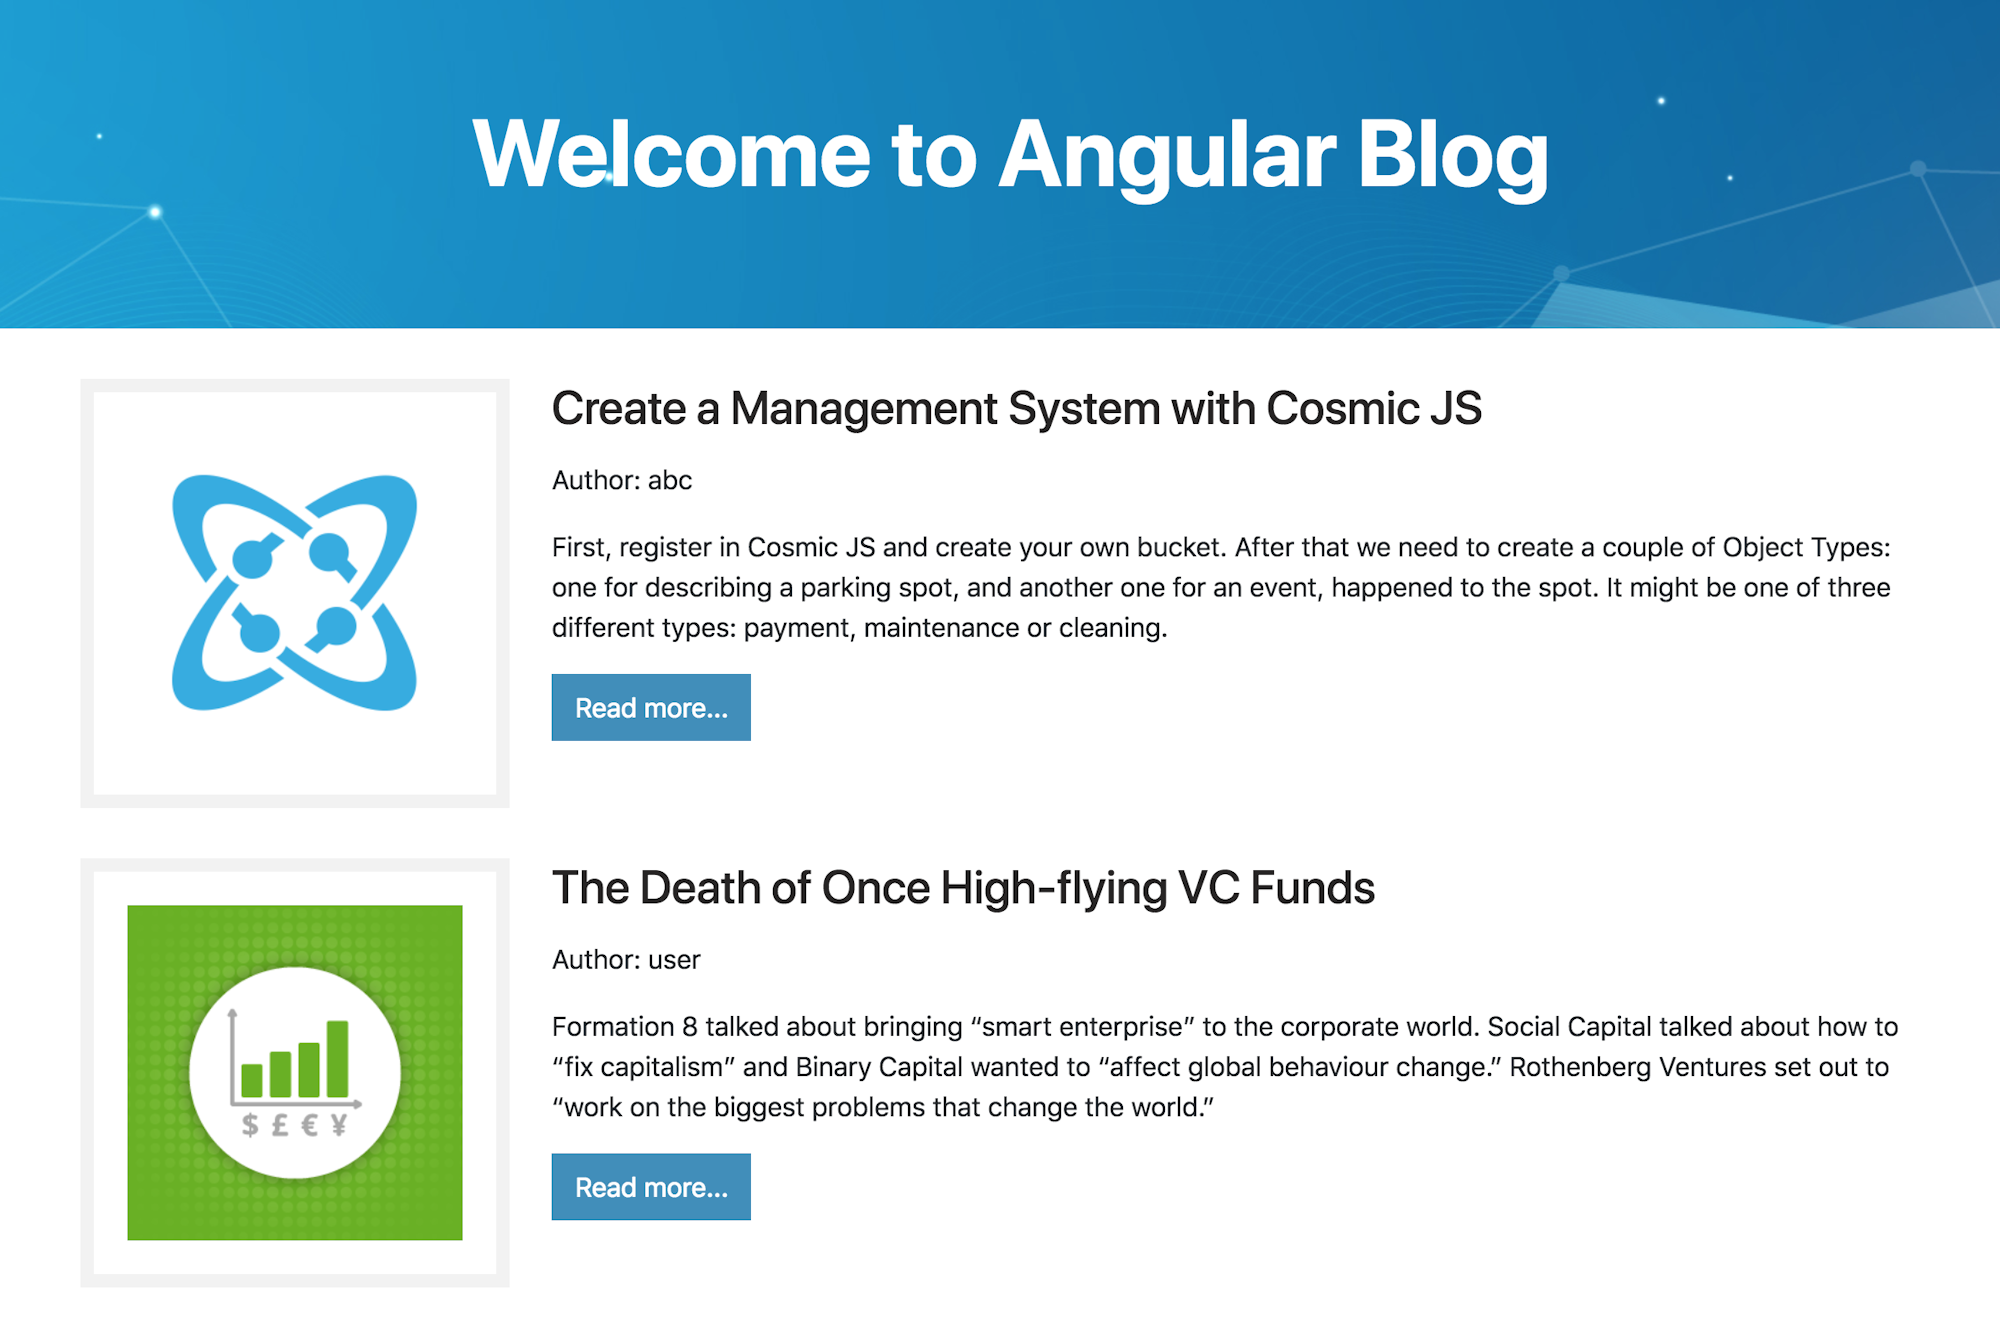
On this blog, at home page you will get all blogs from all users. And you can read one single blog by clicking Read More button. Here you can register a new account and after successful register you can login. Since we are using Cosmic server as back-end so everything is stored on this server.
After login, you will be navigate to dashboard on which you can publish a blog, read your own blogs, check all blogs from all users and finally you can logout .
Now you can run complete project on localhost.

Content Modeling
You should create different object types for different types of data. In our case, we created an object type names blogs and second registerusers. Blogs with contain all blogs published on our blog and register user will store data of users registered. Later we will add another object type named posts and photos, which will contain all posts published under some blogs and media uploaded for each blog or post respectively.

Above screenshot is showing our blogs -object type. Blogs published are shown here.

This picture is showing all objects present on our server. There are two object types are shown, named: blogs and registerusers. So we store all data on Cosmic server in the form of different objects and these objects are categorised as object types.
Deploy to Cosmic servers
This is main step of this tutorial, in which we are going to deploy this Angular blog on Cosmic server. There are some requirements:
You must have a public GIt repo
Specific requirements depending on your platform must be met
Now follow the following steps:
Modify package.json
Here you have to specify the versions of angular cli and compiler cli that means angular version:
Prepare software
Now run the following command:
npm install --save express
now add following code to package.json
Now create an app.js file and add following code:
Now Build Angular App for Production
Add the following code to app.json:
Now all tasks are completed and your app is ready to deploy on Cosmic server.
Deploy it

Go to deploy section under settings>web hosting on your Cosmic server dashboard. Add git repo and click on the deploy button.
Conclusion
By using the Cosmic app server you can quickly deploy your app to hosting by using your public git repo. Here you are free free from worries of server configuration and software installation.
If you have any comments or questions about building websites and apps with Cosmic, reach out to us on Twitter and join the conversation on Slack.


