
Flynn Buckingham
May 24, 2019

TL;DR:
There are several circumstances where data needs to be exported to a spreadsheet. Either for statistical reasons, or as an alternative means to store data that isn’t JSON, despite it’s reputation, storing and keeping data in CSV does have it’s perks.
Cosmic is a CMS platform that enables you to decouple your content from your products, allowing you to reuse and reimplement that content in various means across various platforms.
Today we will be going over how to export your data in a CSV.
Before we start
NOTE: the following guide assumes you already have a Cosmic account in order to use extensions correctly. If you don’t already have one, you can signup here.
There are two main ways to access and use Cosmic extensions. The first is to add the extension via your settings admin, and the other is to build the extension manually. We’ll be going over both methods.
Adding via Cosmic
Adding the Export to CSV Extension to an existing Cosmic Bucket is simple. Just navigate to your Bucket Settings > Extensions > Export to CSV Extension and click "Install".

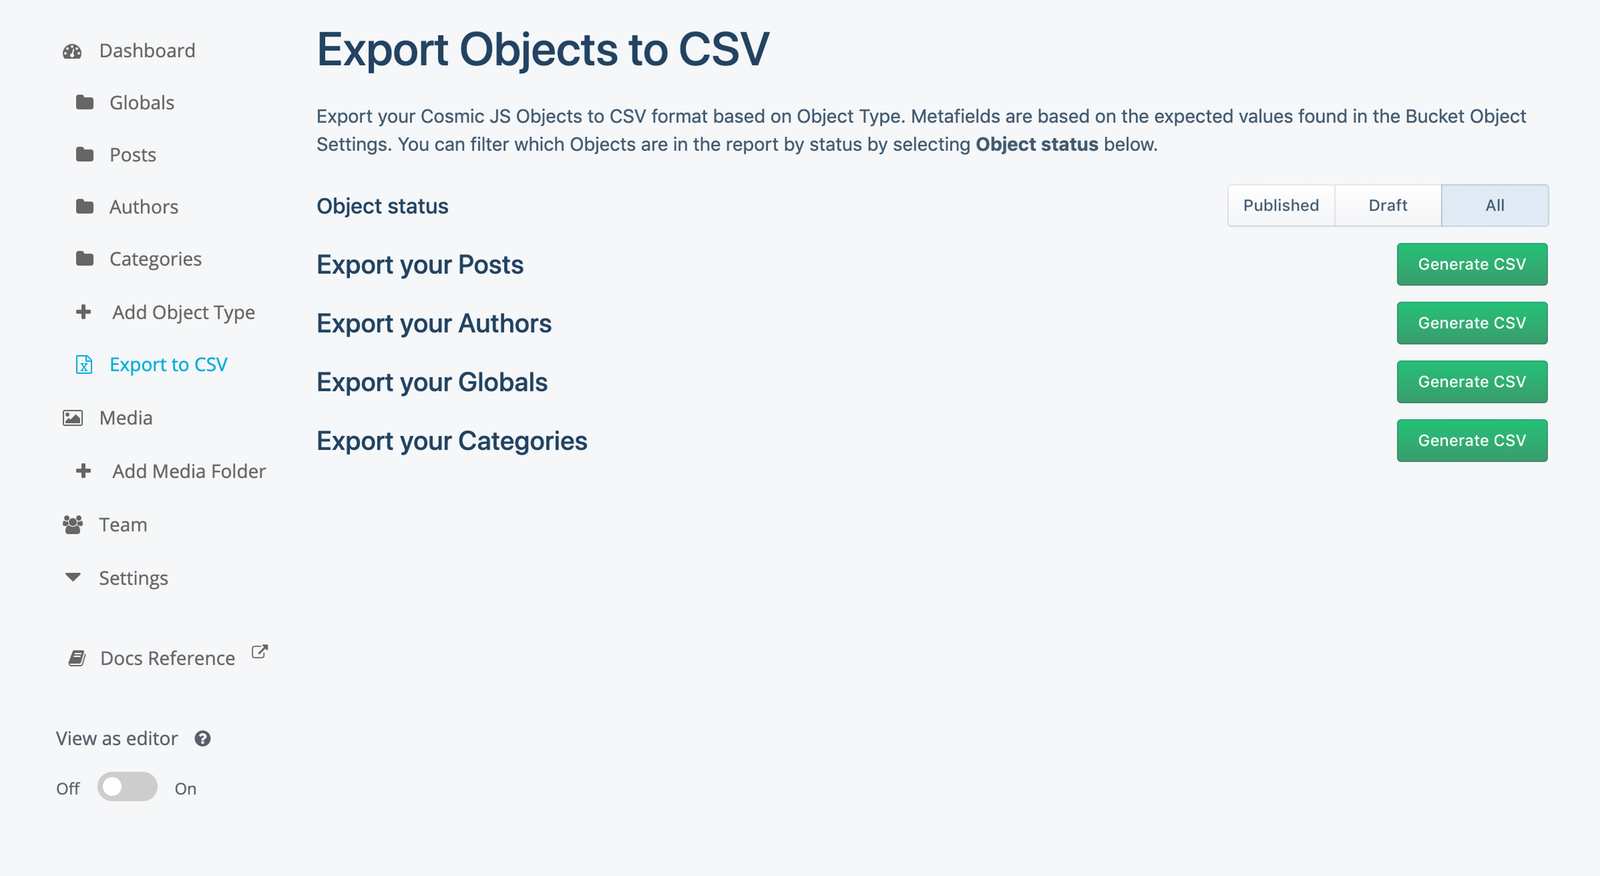
Once installed, click "Go To Extension" or use the left hand nav bar to navigate to the Export to CSV Extension. Your Bucket's Objects are then available to select for easy export, complete with Published and Draft Filters.
Building manually
The source code for the plugin is available on GitHub for cloning. The instructions for building a usable version of the extension are rather simple:
git clone https://github.com/cosmicjs/export-to-csv && cd export-to-csv
yarn install
npm run build
The above code is responsive for cloning the repository, installing dependencies via yarn, and then building a working version via npm run build . Doing this, as per instructions the repository README, will add a build.zip file in the main project file. This is the extension itself that Comic JS uses when uploading.
From there we can simply log into our Cosmic account, navigating to the bucket dashboard of choice. In this example, I will be navigating to one of my test buckets.
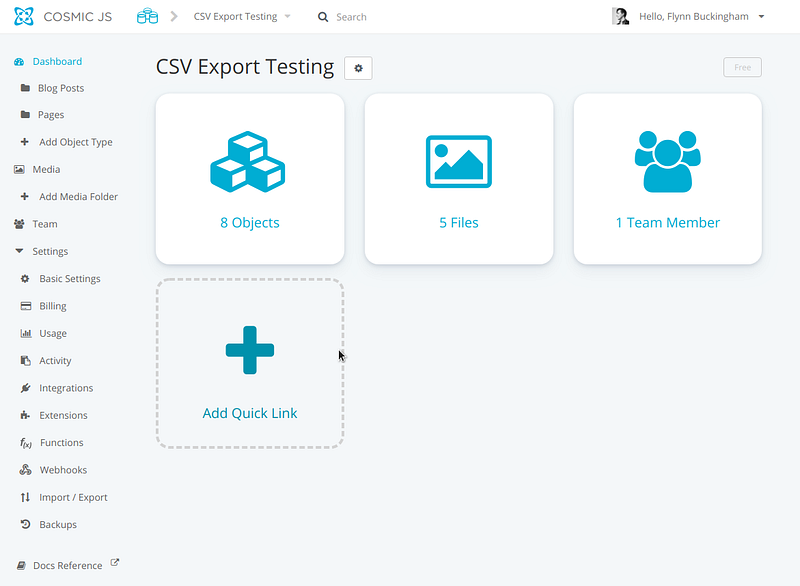
Expanding the Settings on the left hand sidebar will reveal an option called Extensions. Clicking that specific menu item, will bring up the extensions page.

Just like when we were adding the extension manually, we find ourselves at the Extensions screen. Unlike adding the plugin directly, we will be using the + Add Extension tab to manually add our own custom version.
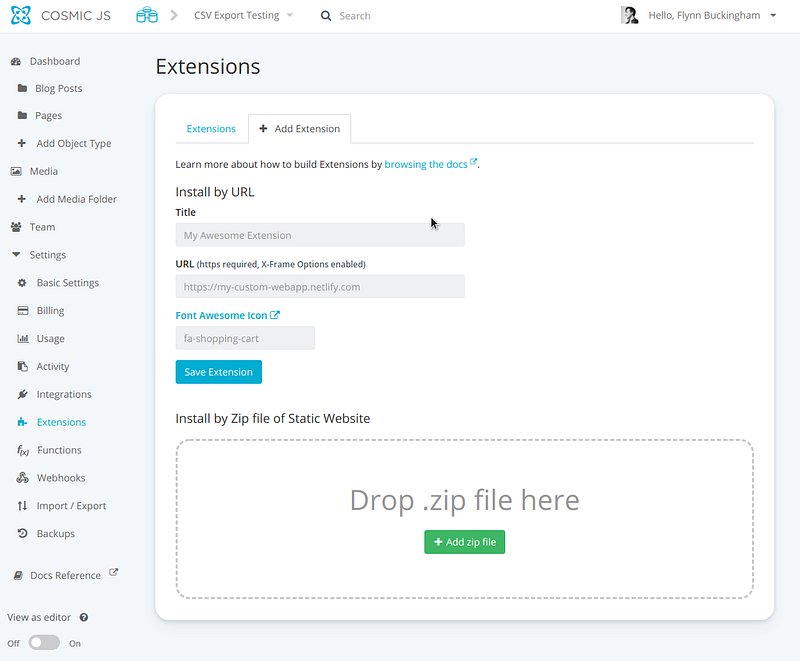
Then we manually drag our build.zip file into the area labeled Drop .zip file here, or just simple click + Add zip file to manually choose the file from the filesystem. Doing so will then show the following screen:
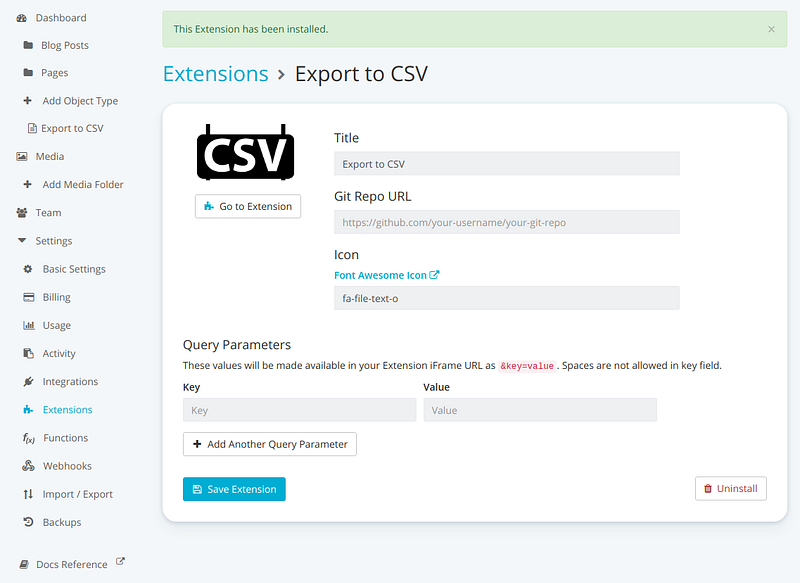
We now have a new option to export Cosmic Objects via the Export to CSV on the top left of the screen.
How to export your Objects
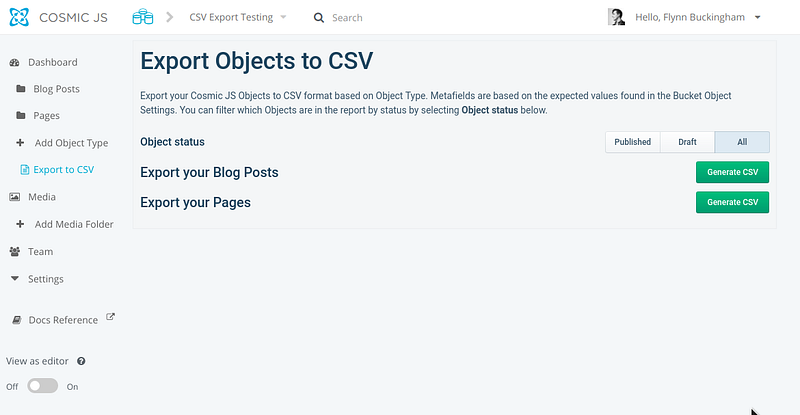
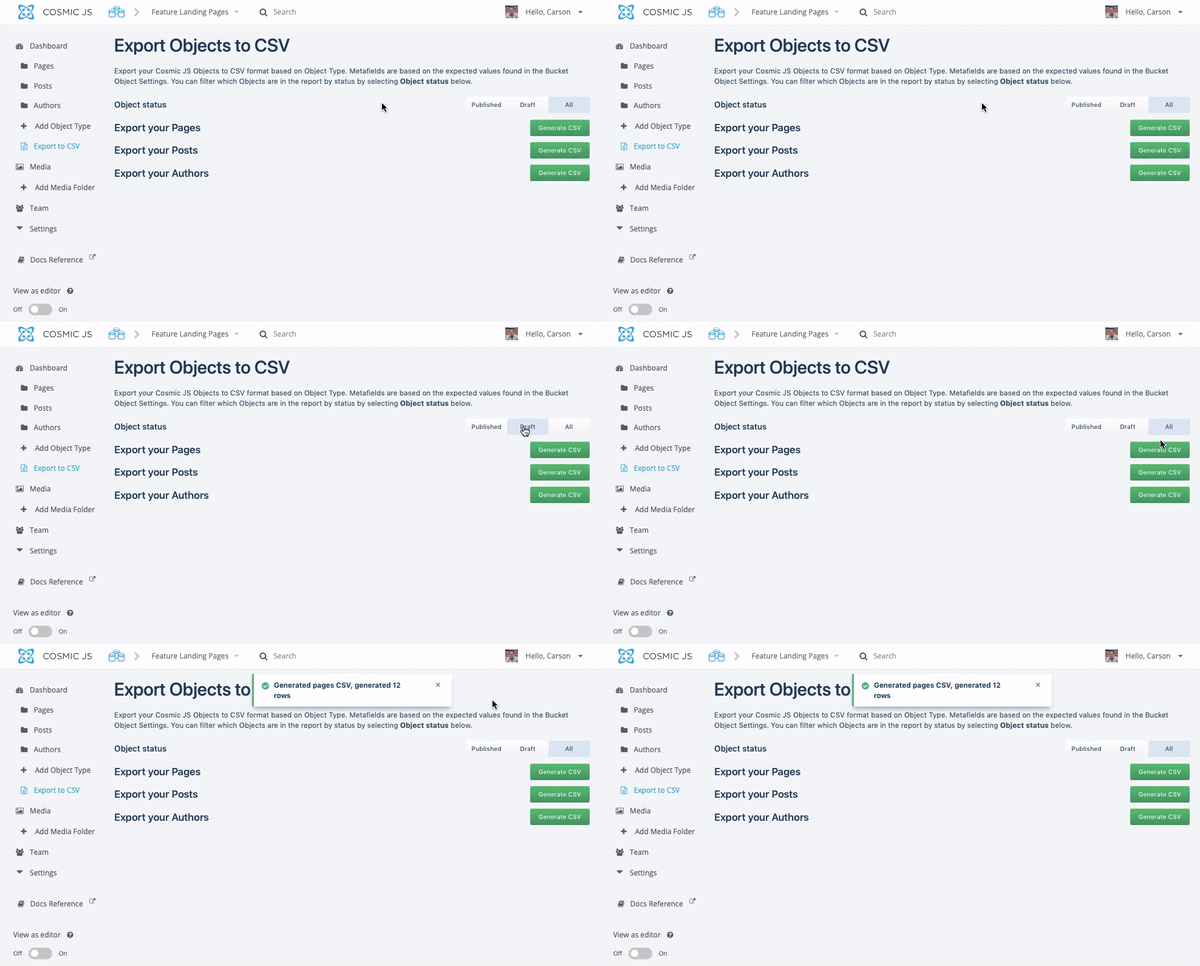
The user interface is fairly intuitive. Each recognized Object Type will be shown near the bottom with a green button, which will execute client-side data fetching and processing to convert your objects into a CSV, and then download it.
Object Status exists as a way to specifically filter out content based on and Object it’s status attribute, so you can specifically only return data for the specified mode. All just returns all Objects without filtering.
Conclusion
While I’ve built many client-side solutions in my time, this was actually my first JAMstack application. And I need to say, it was actually quite fun to do.
Cosmic is a platform that enables both content creators and developers to extend their content in ways that most platforms won’t, and I look forward to writing more apps and extensions with them when I can.
If you have any comments or questions about building apps with Cosmic, reach out to us on Twitter and join the conversation on Slack.


