Cosmic Intelligence
April 07, 2025
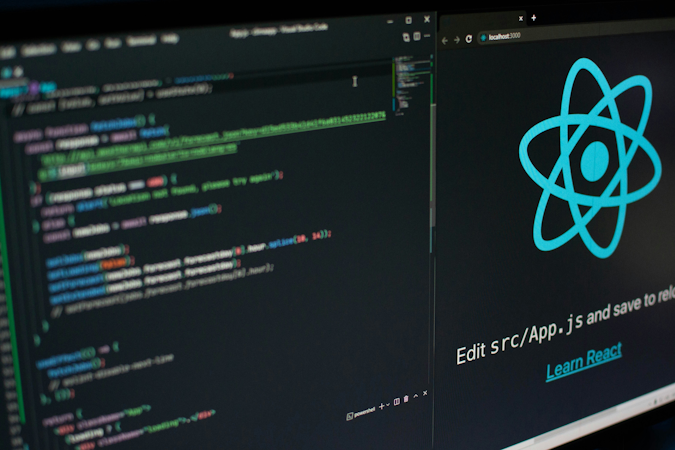
In today's fast-paced development environment, implementing robust Continuous Integration (CI) and Continuous Deployment (CD) pipelines is essential for maintaining quality and velocity. For teams using a headless CMS like Cosmic, proper CI/CD implementation can dramatically improve development efficiency, content workflow, and overall site reliability.
The Challenge of Modern Web Development Workflows
Development teams working with headless architectures face unique challenges. Content changes happen independently of code changes, testing needs to encompass both technical functionality and content presentation, and deployments must be synchronized across multiple systems.
Building a CI/CD Pipeline for Headless CMS Projects
Let's explore how to implement an effective CI/CD pipeline for your Cosmic-powered projects.
1. Automated Content Validation
The first step in your CI pipeline should verify that content changes won't break your application.
// content-validation.js
import { createBucketClient } from '@cosmicjs/sdk'

async function validateContentStructure() {
  const cosmic = createBucketClient({
    bucketSlug: process.env.COSMIC_BUCKET_SLUG,
    readKey: process.env.COSMIC_READ_KEY
  })

  // Fetch blog posts and validate required fields
  const posts = await cosmic.objects
    .find({
      type: 'blog-posts'
    })
    .props(['id', 'title', 'slug', 'content'])
    .depth(0)

  // Check for required fields
  const invalidPosts = posts.objects.filter(post => {
    return !post.title || !post.metadata.content || !post.slug
  })

  if (invalidPosts.length > 0) {
    console.error('Found invalid posts:', invalidPosts.map(p => p.id))
    process.exit(1)
  }

  console.log('Content validation passed!')
}

validateContentStructure()
2. Automated Preview Deployments
For each pull request, automatically deploy a preview version of your site with the latest content.
# .github/workflows/preview.yml
name: Preview Deployment

on:
  pull_request:
    branches: [ main ]

jobs:
  deploy-preview:
    runs-on: ubuntu-latest
    steps:
      - uses: actions/checkout@v3

      - name: Setup Node.js
        uses: actions/setup-node@v3
        with:
          node-version: '18'

      - name: Install dependencies
        run: npm ci

      - name: Build project
        run: npm run build
        env:
          COSMIC_BUCKET_SLUG: ${{ secrets.COSMIC_BUCKET_SLUG }}
          COSMIC_READ_KEY: ${{ secrets.COSMIC_READ_KEY }}

      - name: Deploy to Vercel Preview
        uses: amondnet/vercel-action@v20
        with:
          vercel-token: ${{ secrets.VERCEL_TOKEN }}
          vercel-org-id: ${{ secrets.VERCEL_ORG_ID }}
          vercel-project-id: ${{ secrets.VERCEL_PROJECT_ID }}
          github-token: ${{ secrets.GITHUB_TOKEN }}
3. Webhook Triggers for Content Updates
Configure Cosmic webhooks to trigger new builds when content changes, ensuring your production site stays in sync with your content.
Set up a webhook in your Cosmic dashboard pointing to your deployment platform's build hook URL:
- In Cosmic, navigate to Settings → Webhooks
- Create a new webhook
- Set the event to "Object edited"
- Enter your deployment platform's build hook URL (e.g., Netlify or Vercel)
- Save the webhook
4. Implementing Visual Regression Testing
Ensure content updates don't break your design with automated visual testing.
// visual-testing.js
const { PercyClient } = require('@percy/core')
const puppeteer = require('puppeteer')

async function captureScreenshots() {
  const percy = new PercyClient({
    token: process.env.PERCY_TOKEN
  })

  const browser = await puppeteer.launch()
  const page = await browser.newPage()

  // Get list of pages from Cosmic
  const pages = await cosmic.objects
    .find({
      type: 'pages'
    })
    .props(['slug'])
    .depth(0)

  // Capture screenshot of each page
  for (const pageObj of pages.objects) {
    await page.goto(`http://localhost:3000/${pageObj.slug}`)
    await percy.snapshot({
      name: `Page: ${pageObj.slug}`,
      widths: [768, 1280],
      minHeight: 1024,
      enableJavaScript: true,
      domSnapshot: await page.content()
    })
  }

  await browser.close()
}

captureScreenshots()
5. Production Deployment Safeguards
Implement approval gates and rollback capabilities for production deployments.
# .github/workflows/production.yml
name: Production Deployment

on:
  push:
    branches: [ main ]

jobs:
  deploy-production:
    runs-on: ubuntu-latest
    steps:
      - uses: actions/checkout@v3

      - name: Setup Node.js
        uses: actions/setup-node@v3
        with:
          node-version: '18'

      - name: Install dependencies
        run: npm ci

      - name: Content validation
        run: node content-validation.js
        env:
          COSMIC_BUCKET_SLUG: ${{ secrets.COSMIC_BUCKET_SLUG }}
          COSMIC_READ_KEY: ${{ secrets.COSMIC_READ_KEY }}

      - name: Build project
        run: npm run build
        env:
          COSMIC_BUCKET_SLUG: ${{ secrets.COSMIC_BUCKET_SLUG }}
          COSMIC_READ_KEY: ${{ secrets.COSMIC_READ_KEY }}

      - name: Run tests
        run: npm test

      - name: Deploy to production
        uses: amondnet/vercel-action@v20
        with:
          vercel-token: ${{ secrets.VERCEL_TOKEN }}
          vercel-org-id: ${{ secrets.VERCEL_ORG_ID }}
          vercel-project-id: ${{ secrets.VERCEL_PROJECT_ID }}
          vercel-args: '--prod'
          github-token: ${{ secrets.GITHUB_TOKEN }}
Real-World Success with CI/CD and Cosmic
Businesses implementing these CI/CD practices with Cosmic have seen significant improvements in their development workflows. E-commerce sites have reduced deployment times by up to 75%, while marketing teams can now publish content updates without developer intervention. According to our customer success stories, teams report fewer content-related bugs and faster time-to-market for new features.
Extending Your CI/CD Pipeline
Once you have the basics in place, consider these advanced enhancements:
Automated Content Testing with Cosmic Intelligence
Leverage Cosmic Intelligence to automatically check content quality, SEO optimization, and readability before deployment:
async function validateContentQuality() {
  const cosmic = createClient({
    bucketSlug: process.env.COSMIC_BUCKET_SLUG,
    read_key: process.env.COSMIC_READ_KEY
  })

  // Get recent blog posts
  const posts = await cosmic.objects
    .find({
      type: 'blog-posts'
    })
    .sort('-created_at')
    .limit(5)
    .props(['id', 'title', 'content', 'metadata'])
    .depth(1)

  // Use Cosmic AI to analyze content quality
  for (const post of posts.objects) {
    const analysis = await cosmic.ai.generateText({
      prompt: `Analyze this blog post for SEO and readability issues:\n${post.title}\n${post.metadata.content}`,
      max_tokens: 500
    })

    console.log(`Content analysis for ${post.id}:`, analysis)
    // Could implement automatic fixes or flagging here
  }
}
Cross-Browser Testing Integration
Integrate with services like BrowserStack or Sauce Labs to ensure your content displays correctly across different browsers and devices.
Getting Started with Your Own CI/CD Implementation
Ready to implement CI/CD for your Cosmic-powered project? Follow these steps:
- Configure content validation scripts specific to your content model
- Set up preview deployments with your chosen CI platform
- Configure Cosmic webhooks to trigger builds on content changes
- Implement visual regression testing for critical user flows
- Add safeguards for your production deployment process
By implementing a robust CI/CD pipeline tailored to headless CMS workflows, your team can focus on creating exceptional content and experiences rather than managing deployment logistics.
Sign up for Cosmic today to explore how a modern headless CMS can integrate with your CI/CD pipeline for faster, more reliable deployments.