Tony Spiro
May 06, 2024
Cosmic includes built-in capabilities for website content localization so you can deliver language-specific content to your audience around the world. With the new Localization Block, delivering your content in different languages has gotten even easier.
In this article, I'm going to show you how to build a localized blog so you can deliver content in different languages. We will be using the Next.js app router URL path to set our localized content. By leveraging the Cosmic React component library Blocks, we can build a localized blog in a matter of minutes. Let's go.
Get started with a fresh Next.js app
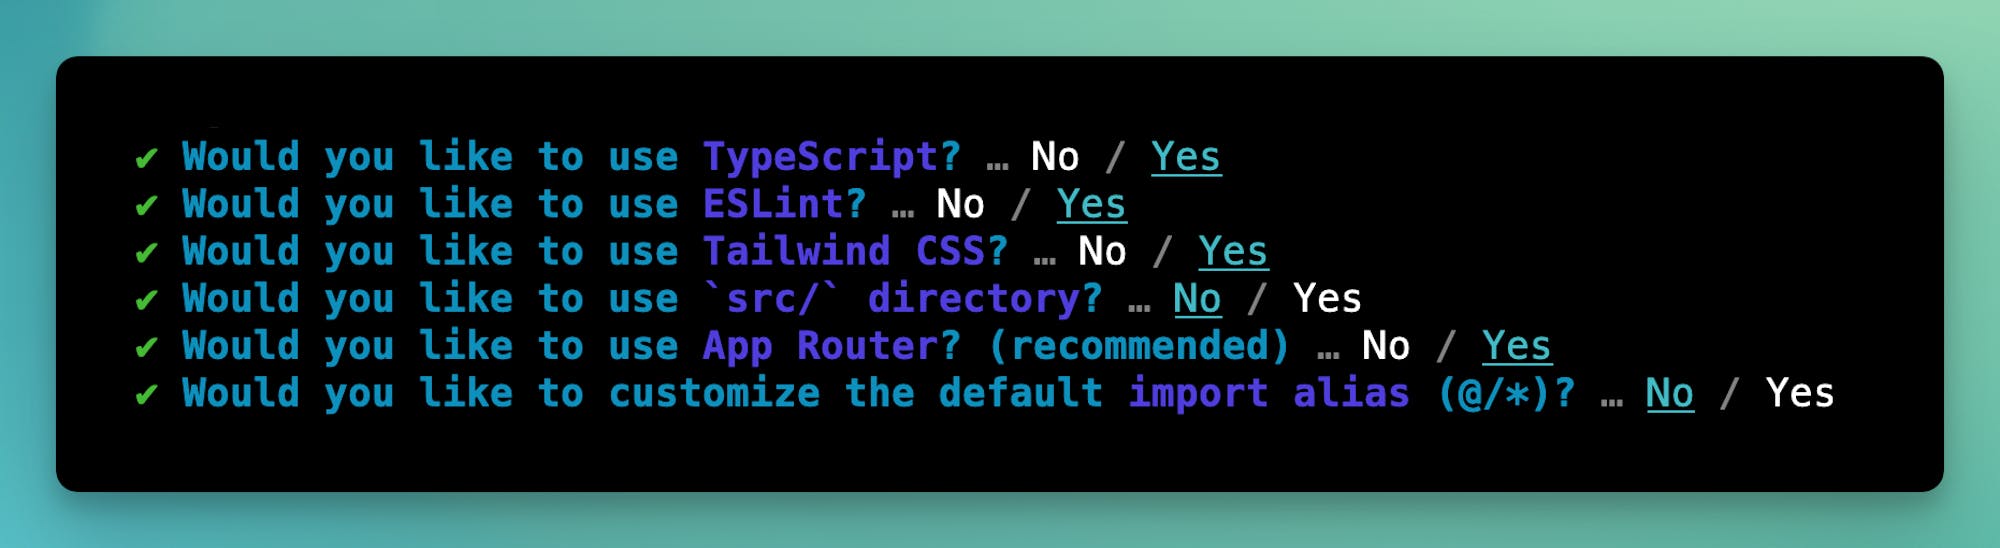
Start by installing a new Next.js app. Run the following command in your terminal application.
Make sure to set the options to the following:
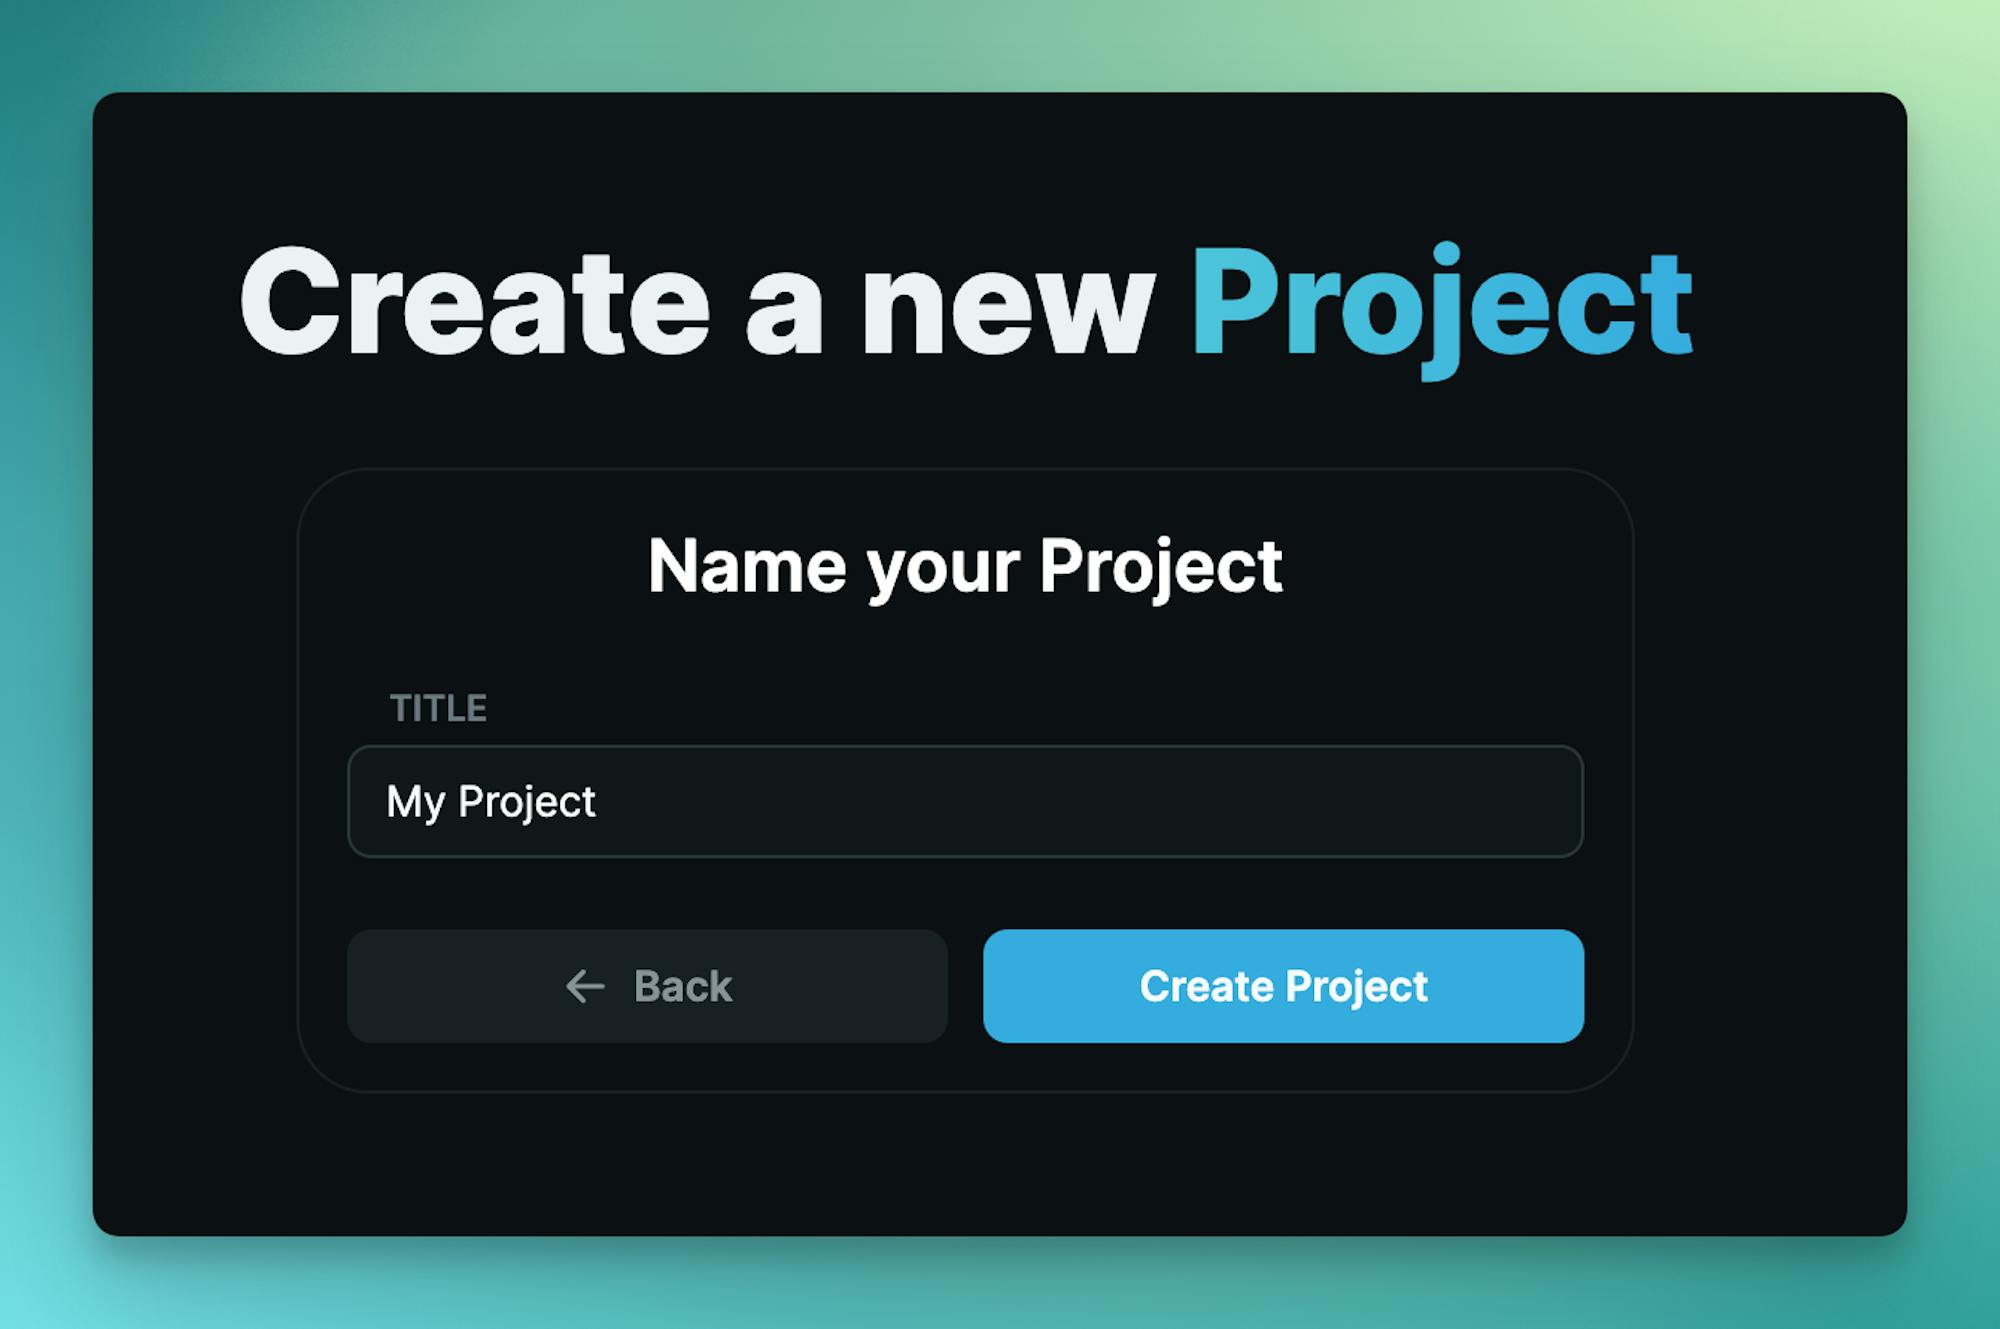
Next, log in to Cosmic and create a new empty Project.
Install Blog Block
In the Cosmic dashboard go to Project > Extensions and install the Cosmic Blocks extension. Find the blog Block.
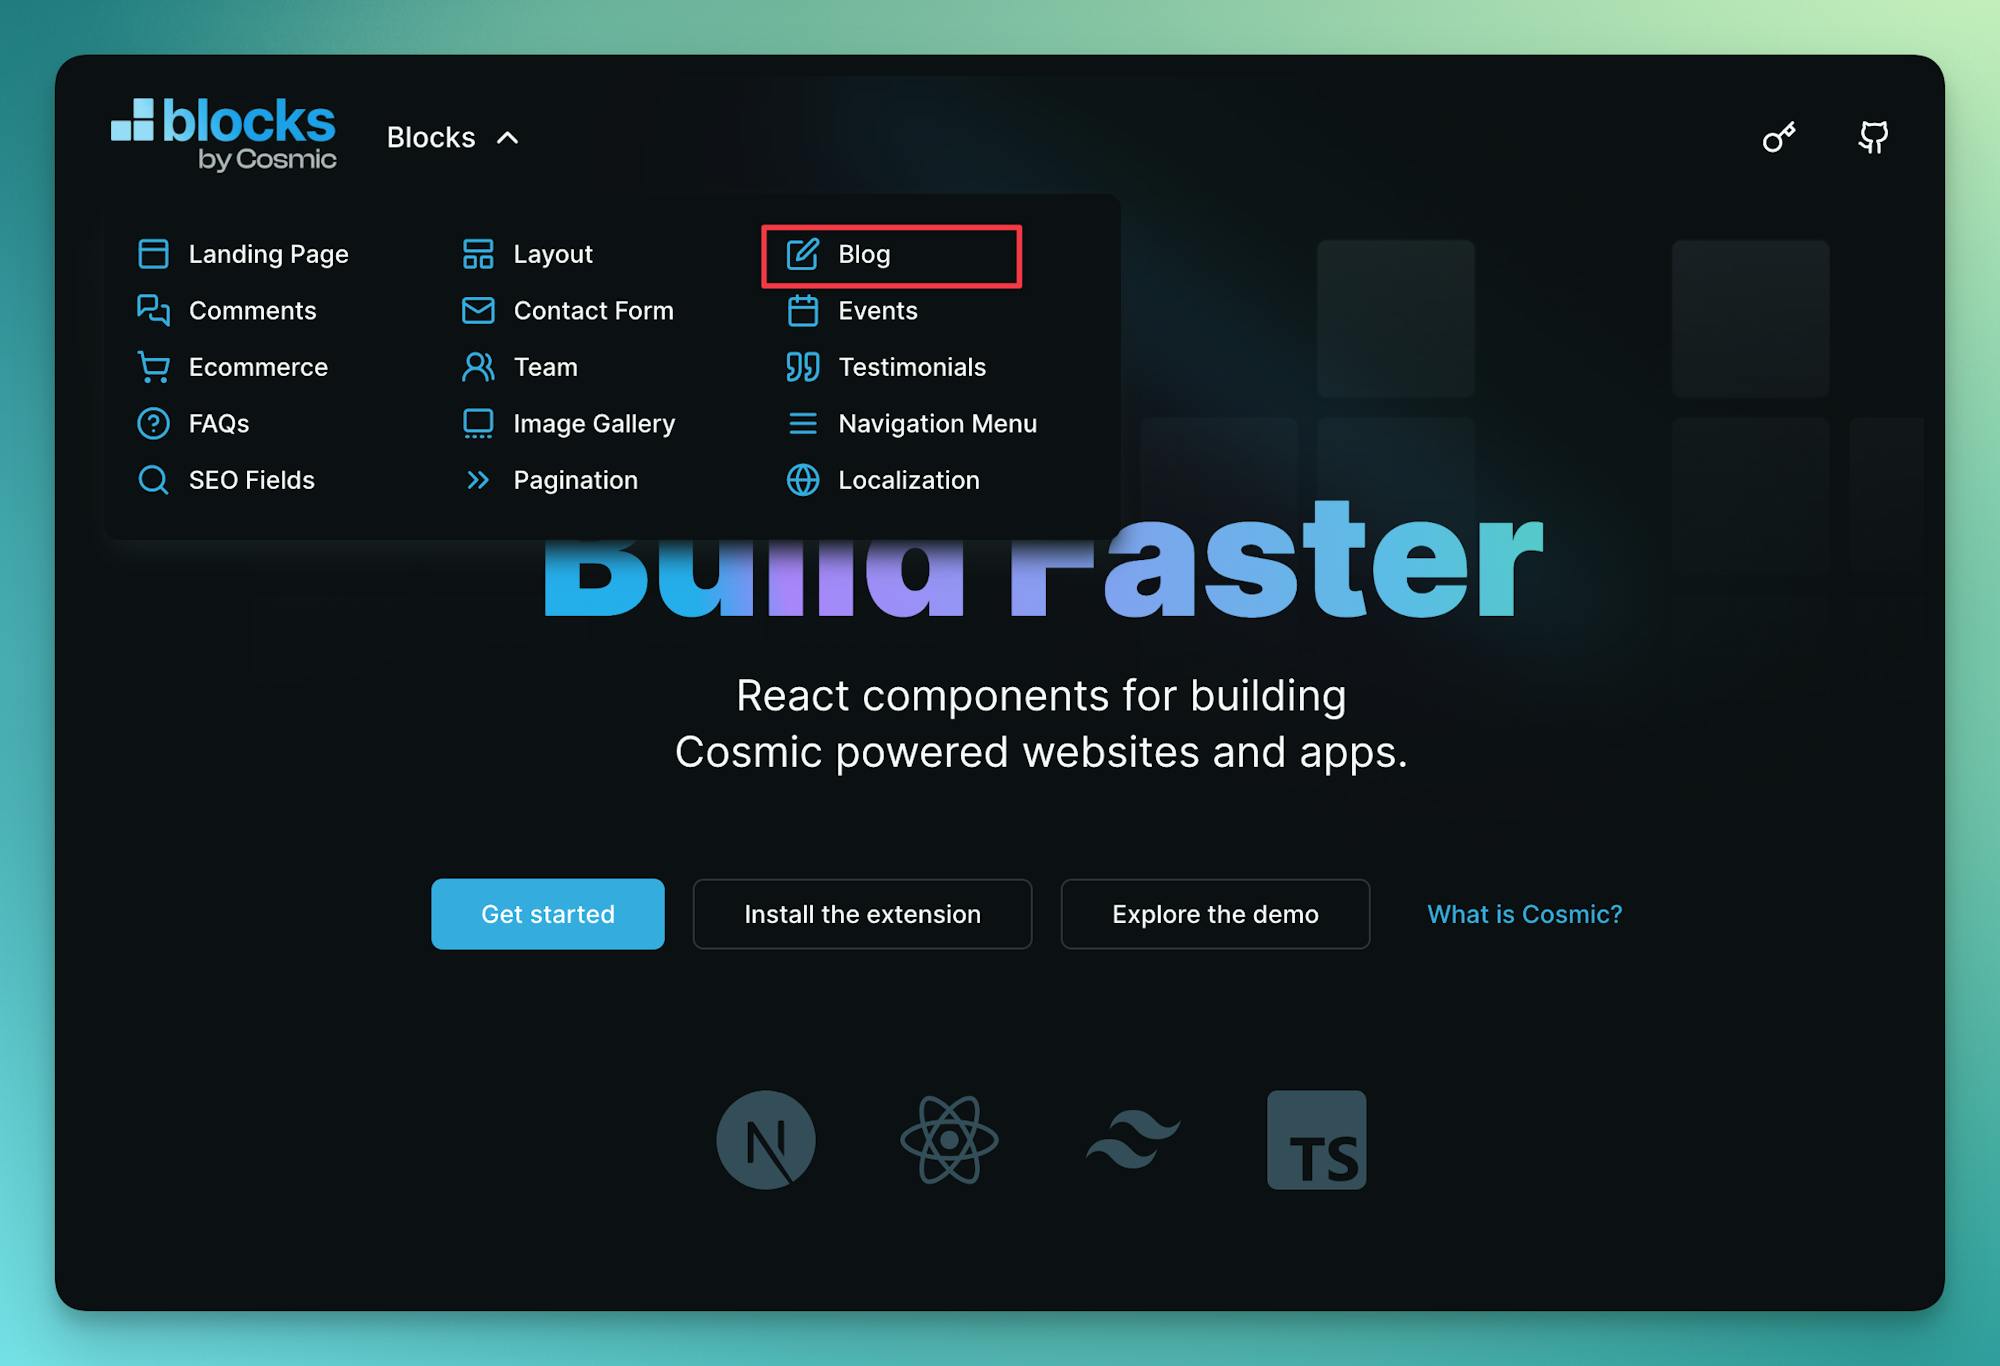
Follow the steps to install the Block content which includes content model and demo content.
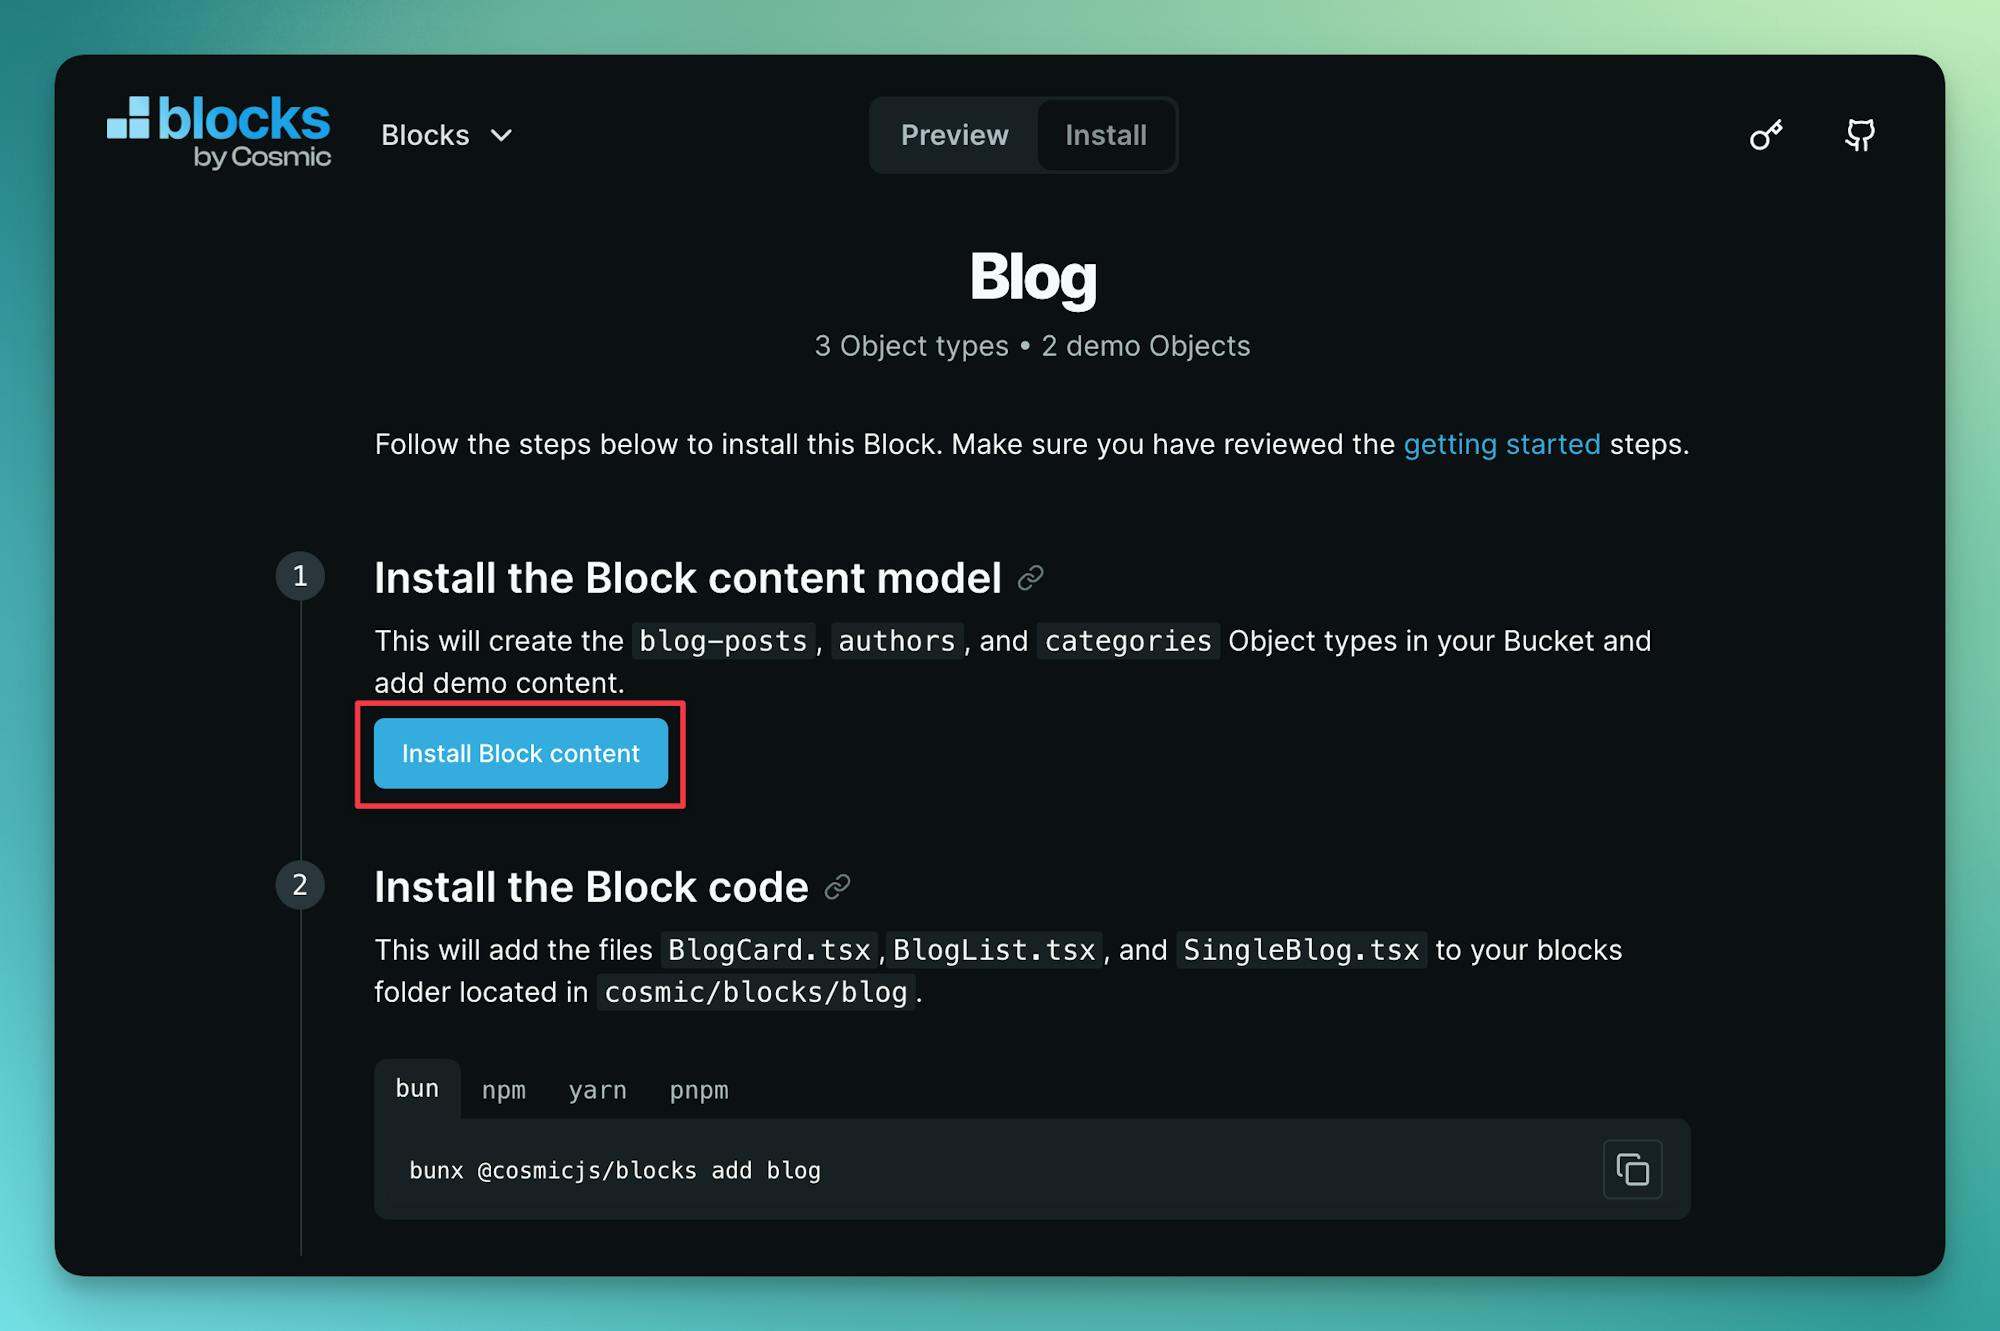
Then run the command to install the blog components in your codebase.
Create a new file and add your Cosmic API keys found in the Cosmic dashboard at Project > API keys.
To create a blog page, add a new file located at with the following:
To create a single blog post page, add a new file located at with the following:
Run the app to see the progress so far:
You should see the blog available at (but not yet localized).
Add localization
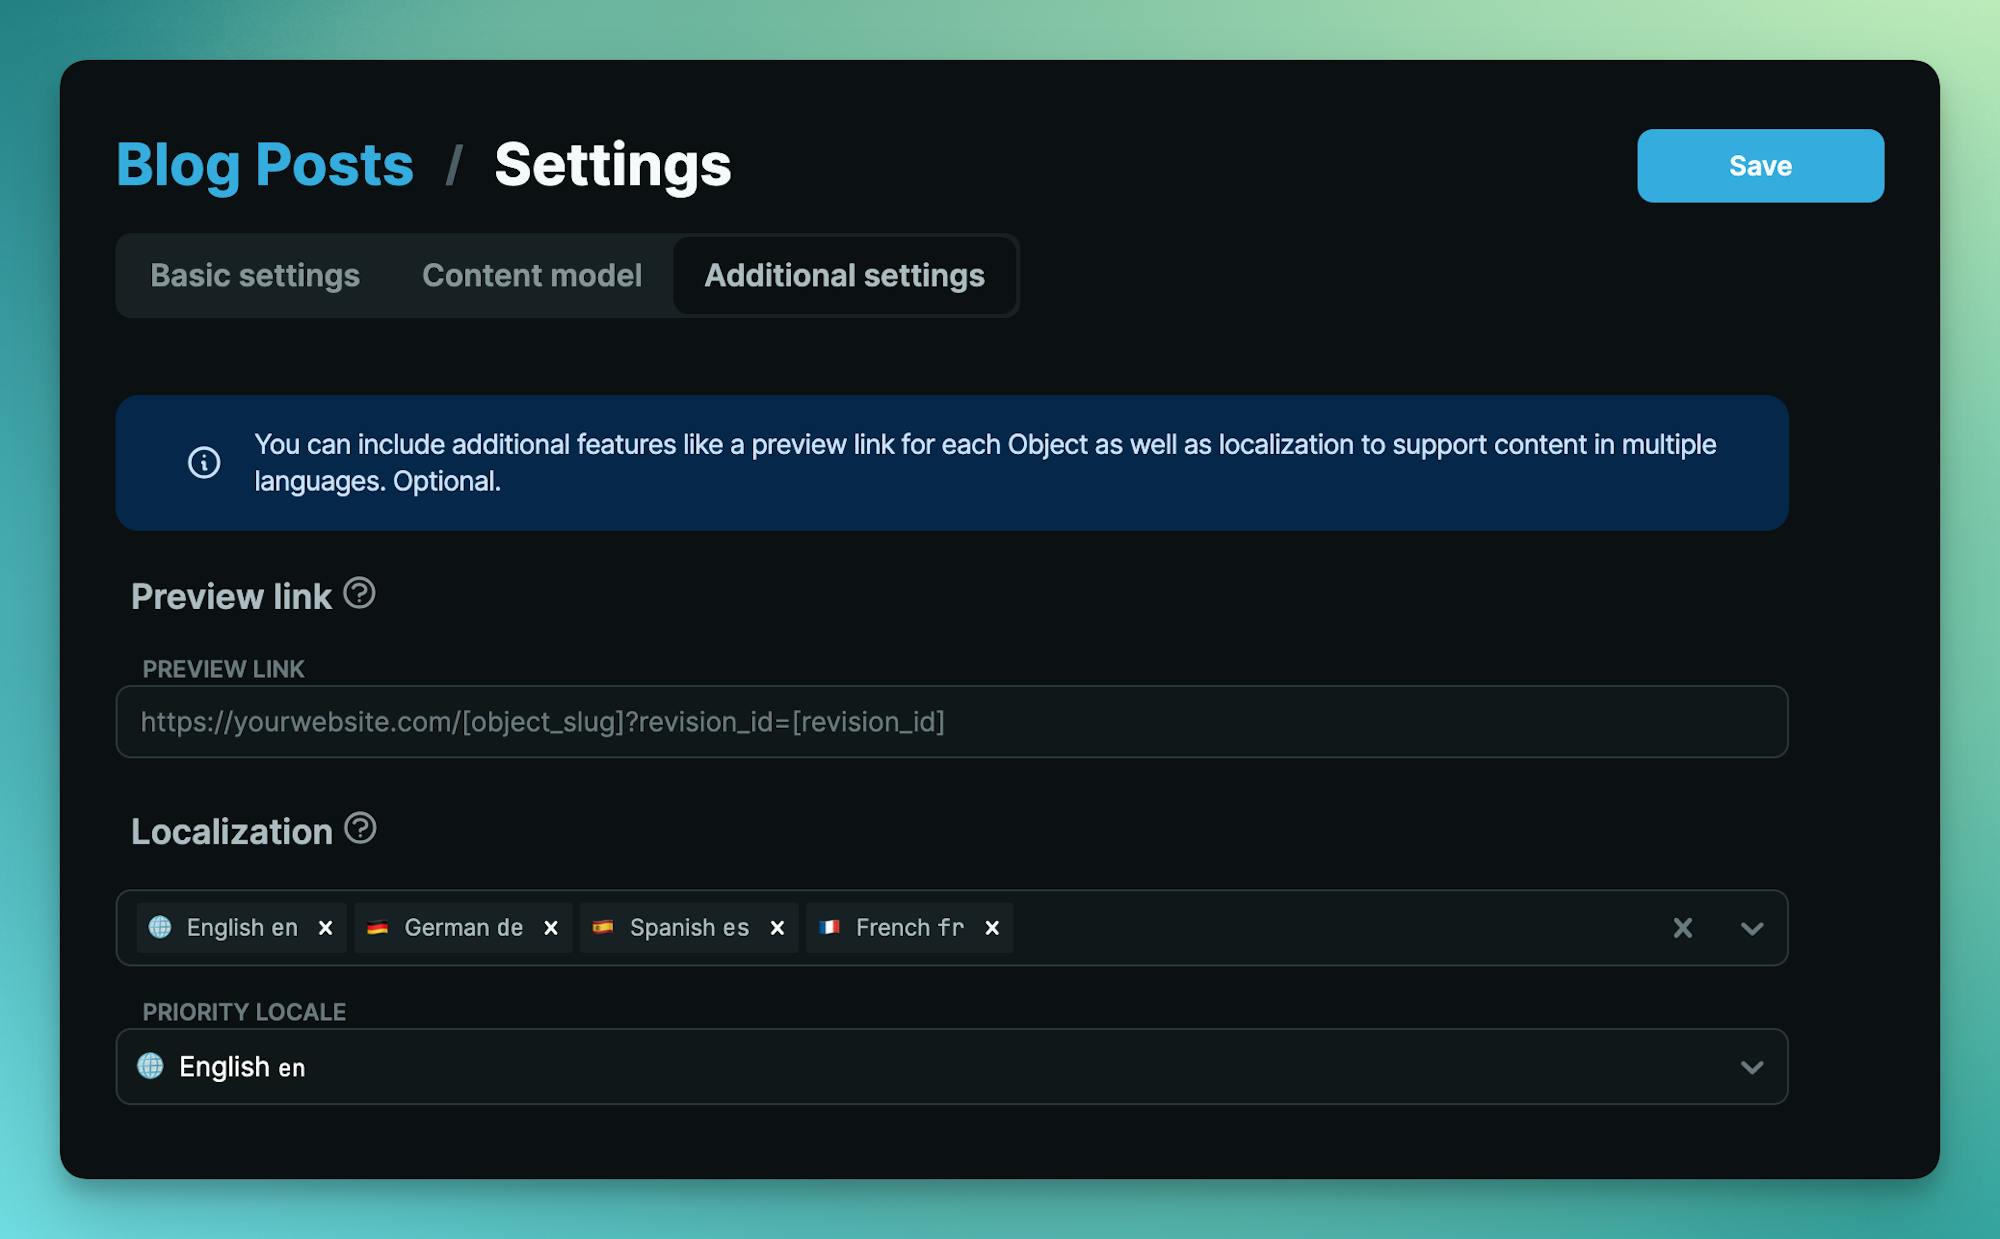
Next, we will enable localization on the Object type. In the Cosmic dashboard, go to the Blog posts > Settings page. You can enable the localization add-on from the Project > Billing page which includes a 14-day free trial.
Once the add-on is activated, you can select from hundreds of locales and select the priority locale. Tip: the priority locale is the locale displayed in the Object table, and will be the first required locale for every new Object).
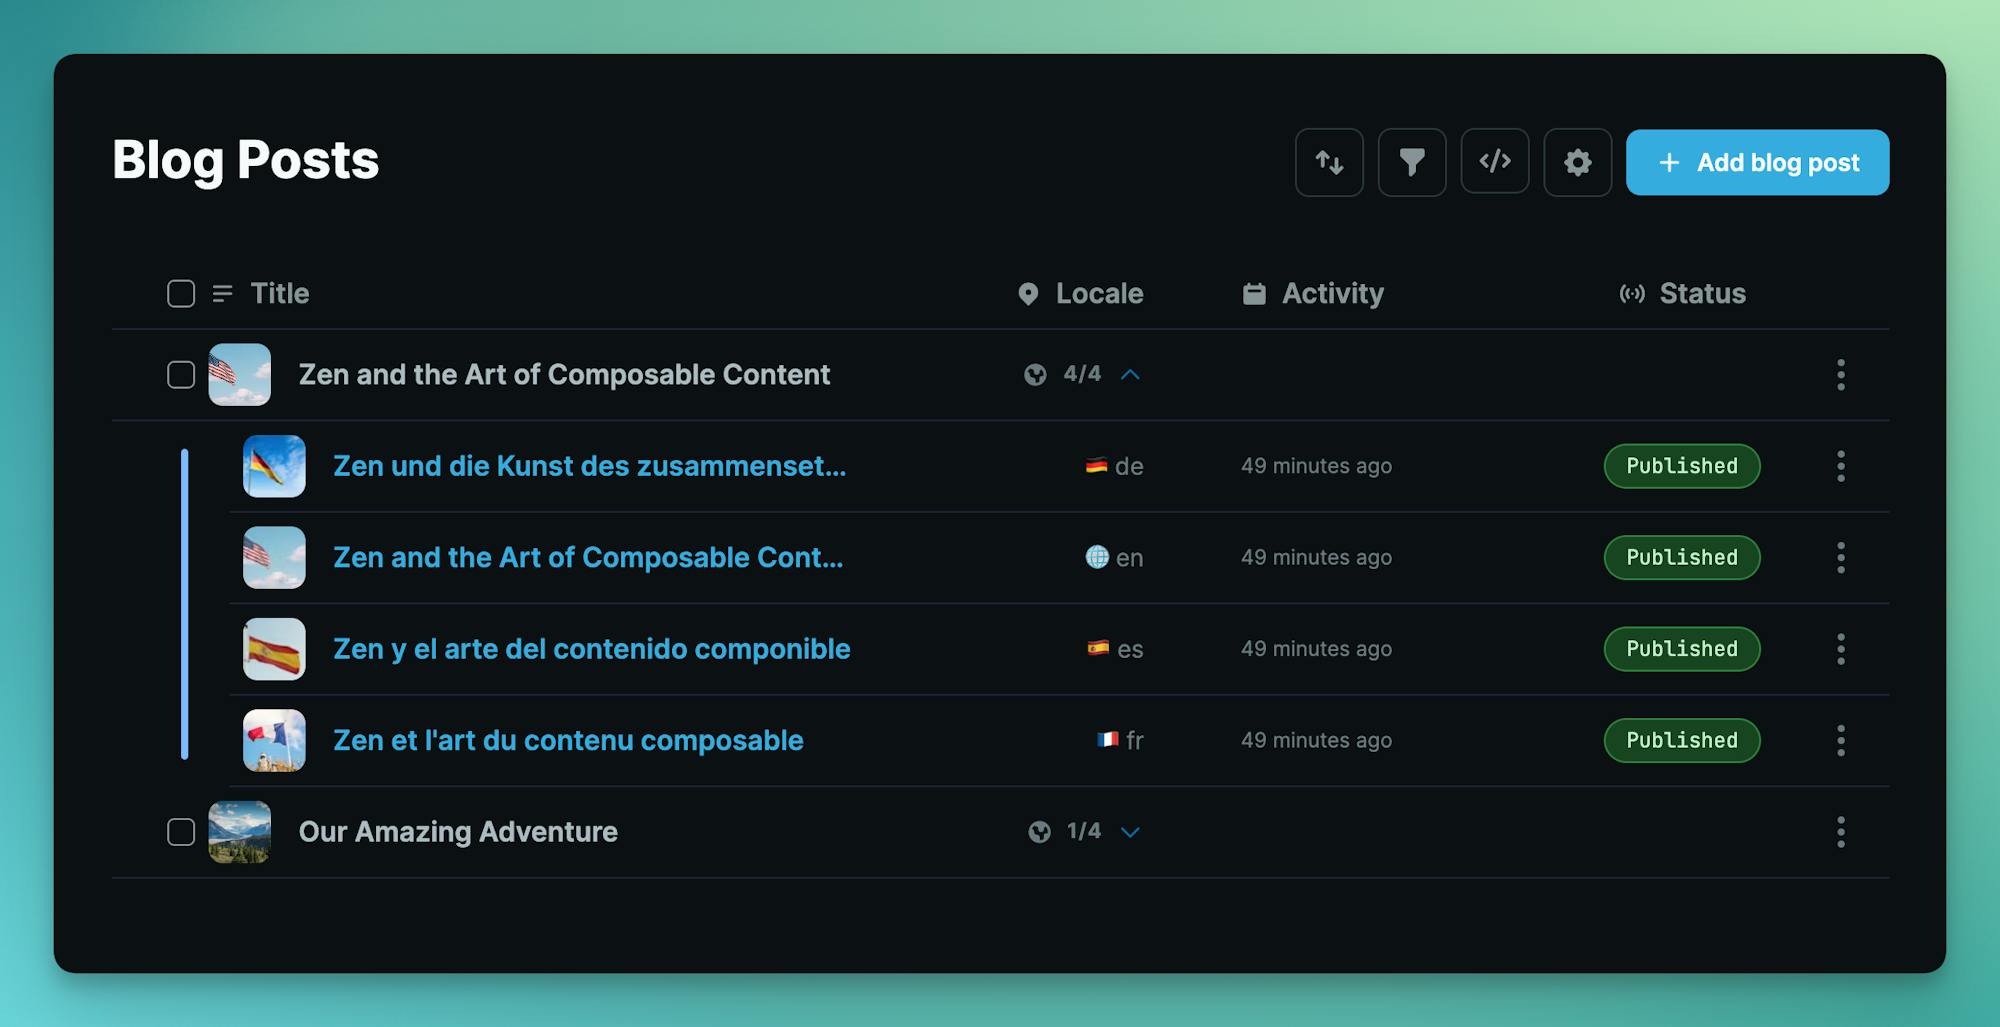
Going into each blog post, create new versions in different locales.
Next, run the command to install the Localization Block in your codebase which will install the component.
Next update the main blog page to the following file path and code.
Next, update your single blog page to the following file path and code.
Run the app and you should now see your blog located at with as your starting locale.
Going into each blog post, you should now be able to switch between locales. Notice that the Next.js app router URL path sets our localized content. For example: is the English version and is the German version.
And that's it. Your localized blog is now ready for the world. 🌎 🌍 🌏
Next steps
I hope you enjoyed this quick tutorial on creating a localized blog using Cosmic Blocks. Check out more Blocks to explore to help you build optimized web experiences faster.
If you have any questions, reach out to me on X (fka Twitter) or on the Cosmic Discord server.