Tony Spiro
December 05, 2023

Since React Server Components (RSCs) hit the scene, the concept of server-side rendering React has become a polarizing topic, garnering praise, skepticism as well as becoming the target of many developer jokes.
After exploring RSCs with Next.js (available since Next.js 13), I have to say that it offers quite a significant improvement to developer experience compared to pre-RSC Next.js especially when working with a headless CMS.
In this article, we’re going to cover best practices for using React Server Components along with a headless CMS. We’ll also cover when to use client-side components and how to best structure your websites and apps for efficient data fetching from a headless CMS, in our case Cosmic (learn more about Cosmic here). Alright, let’s get into it:
1. Install the template
First install a new Next.js 14 app (you will need bun installed)
Yes / No to the following:
Get in there and fire up this bad boy:
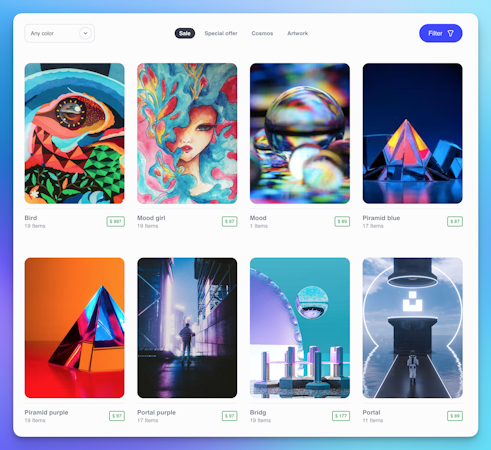
You should now see the default template running at http://localhost:3000. It should look like this:
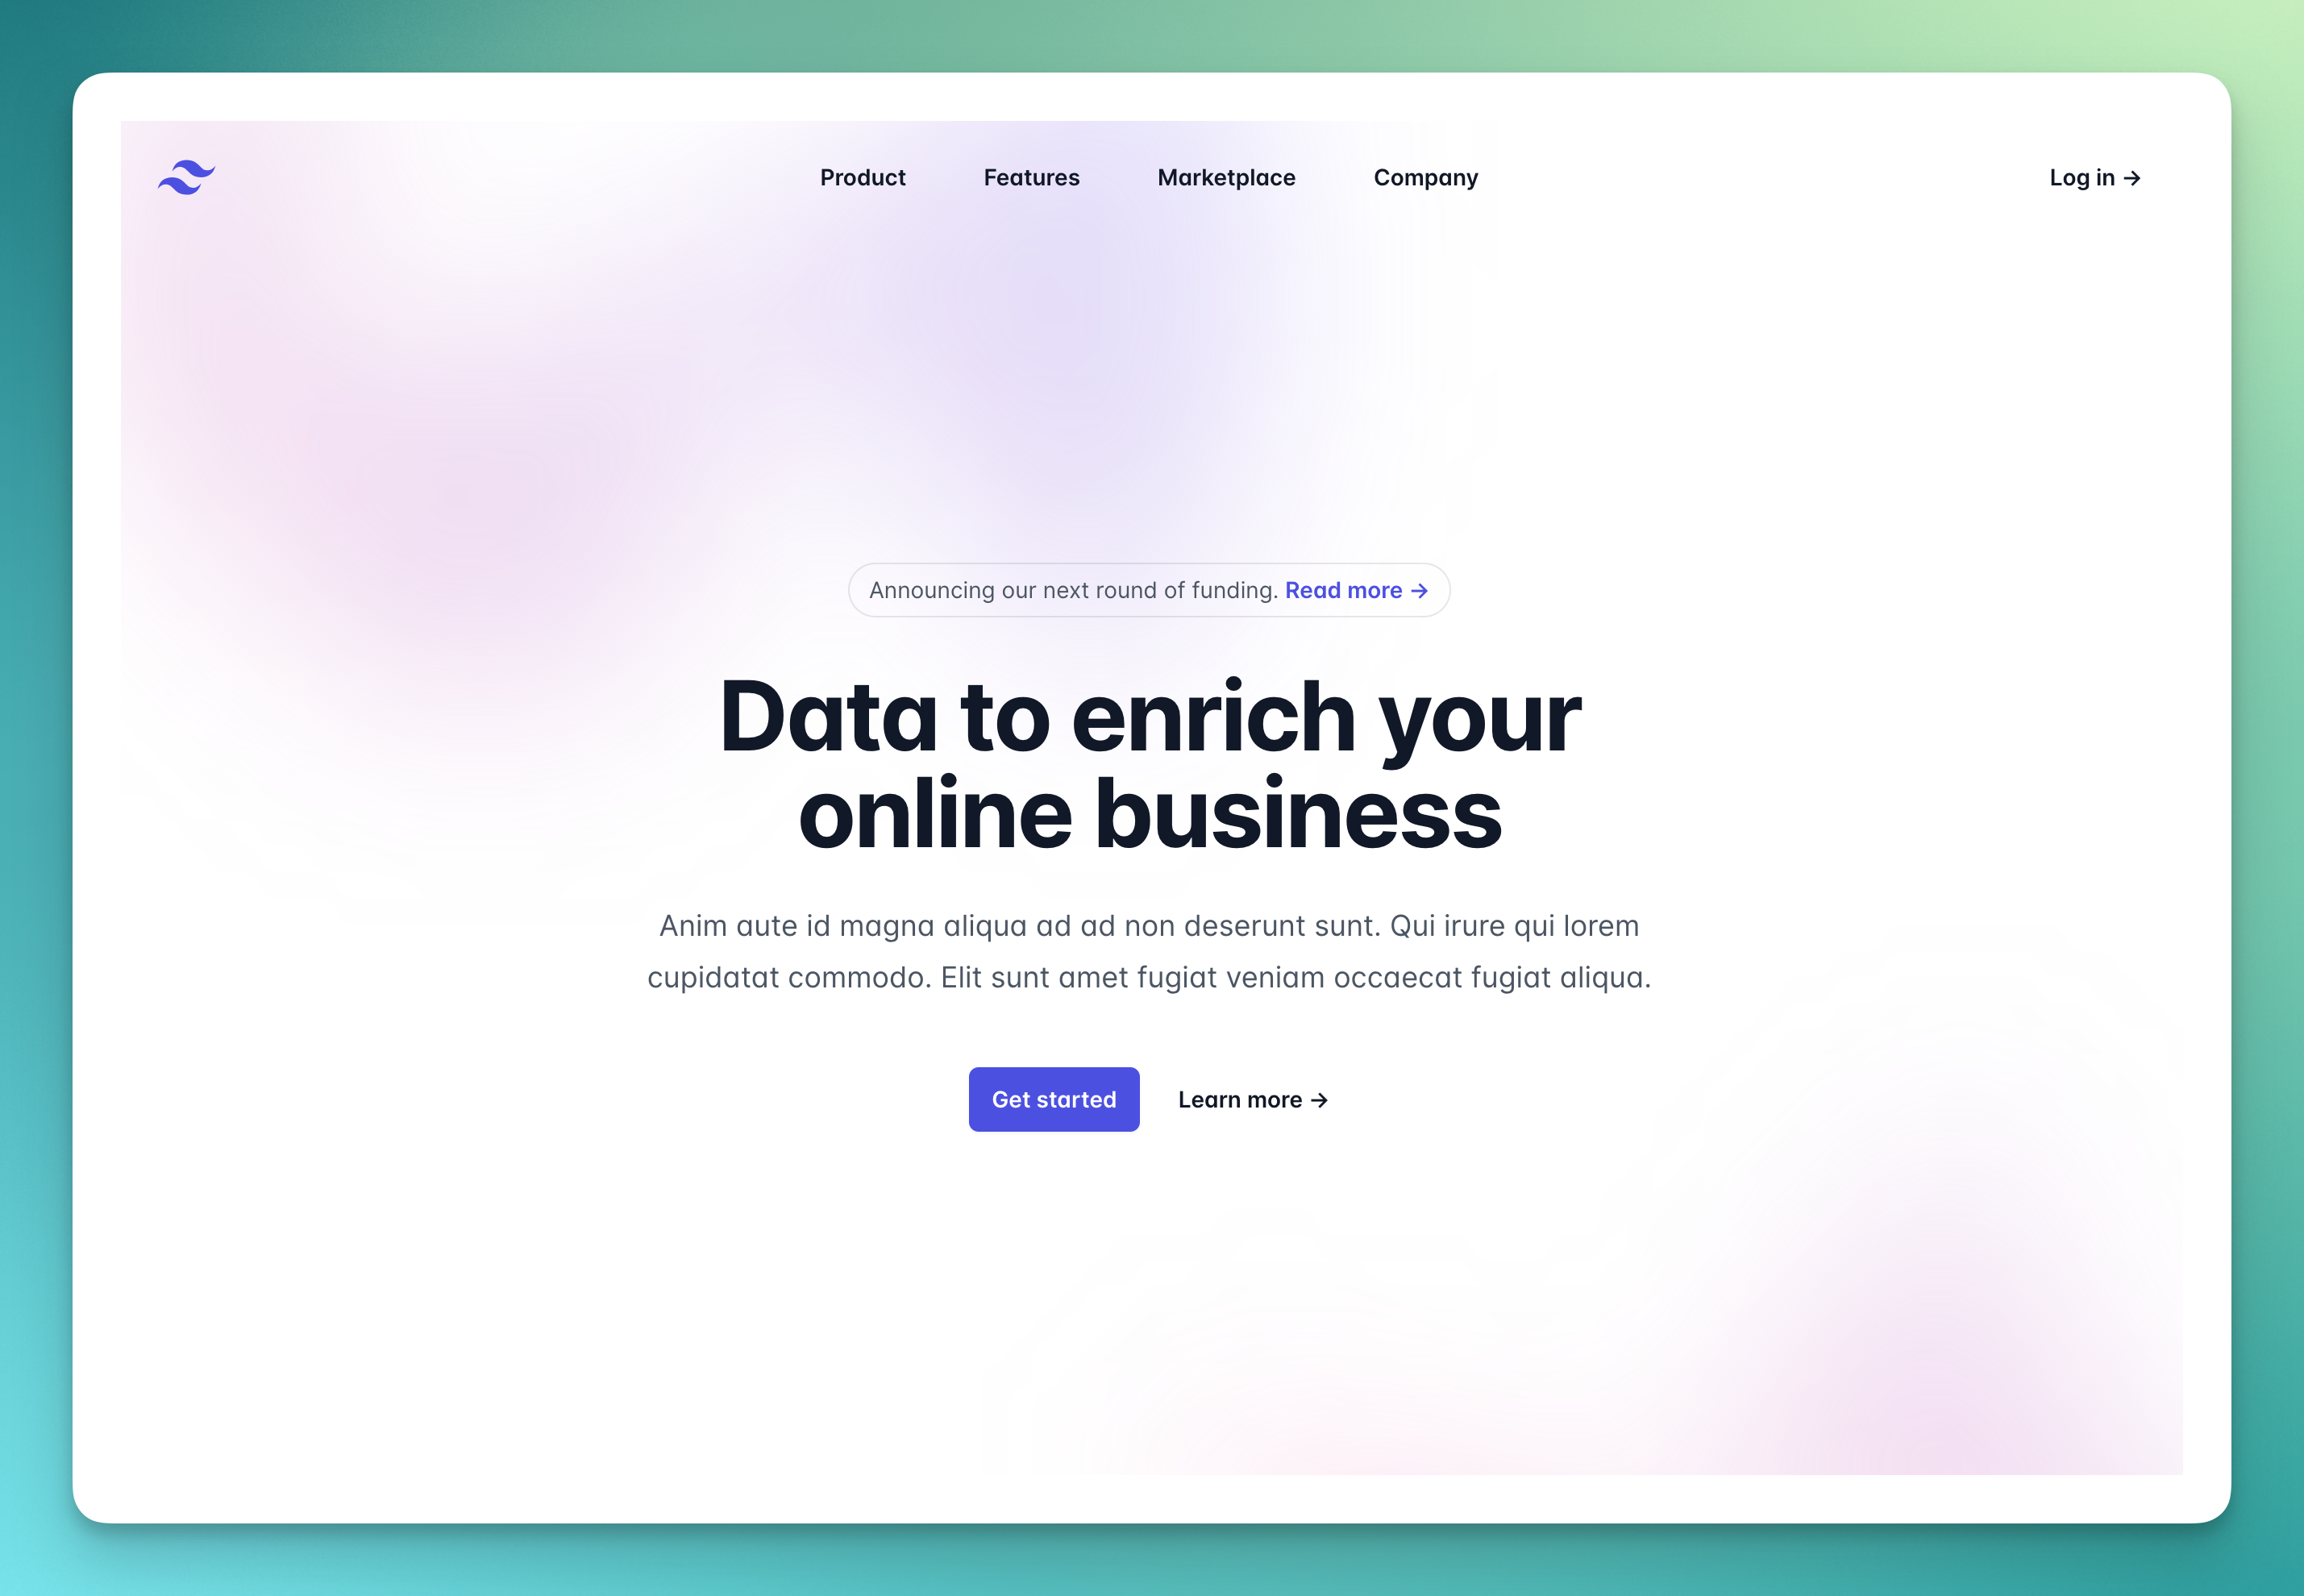
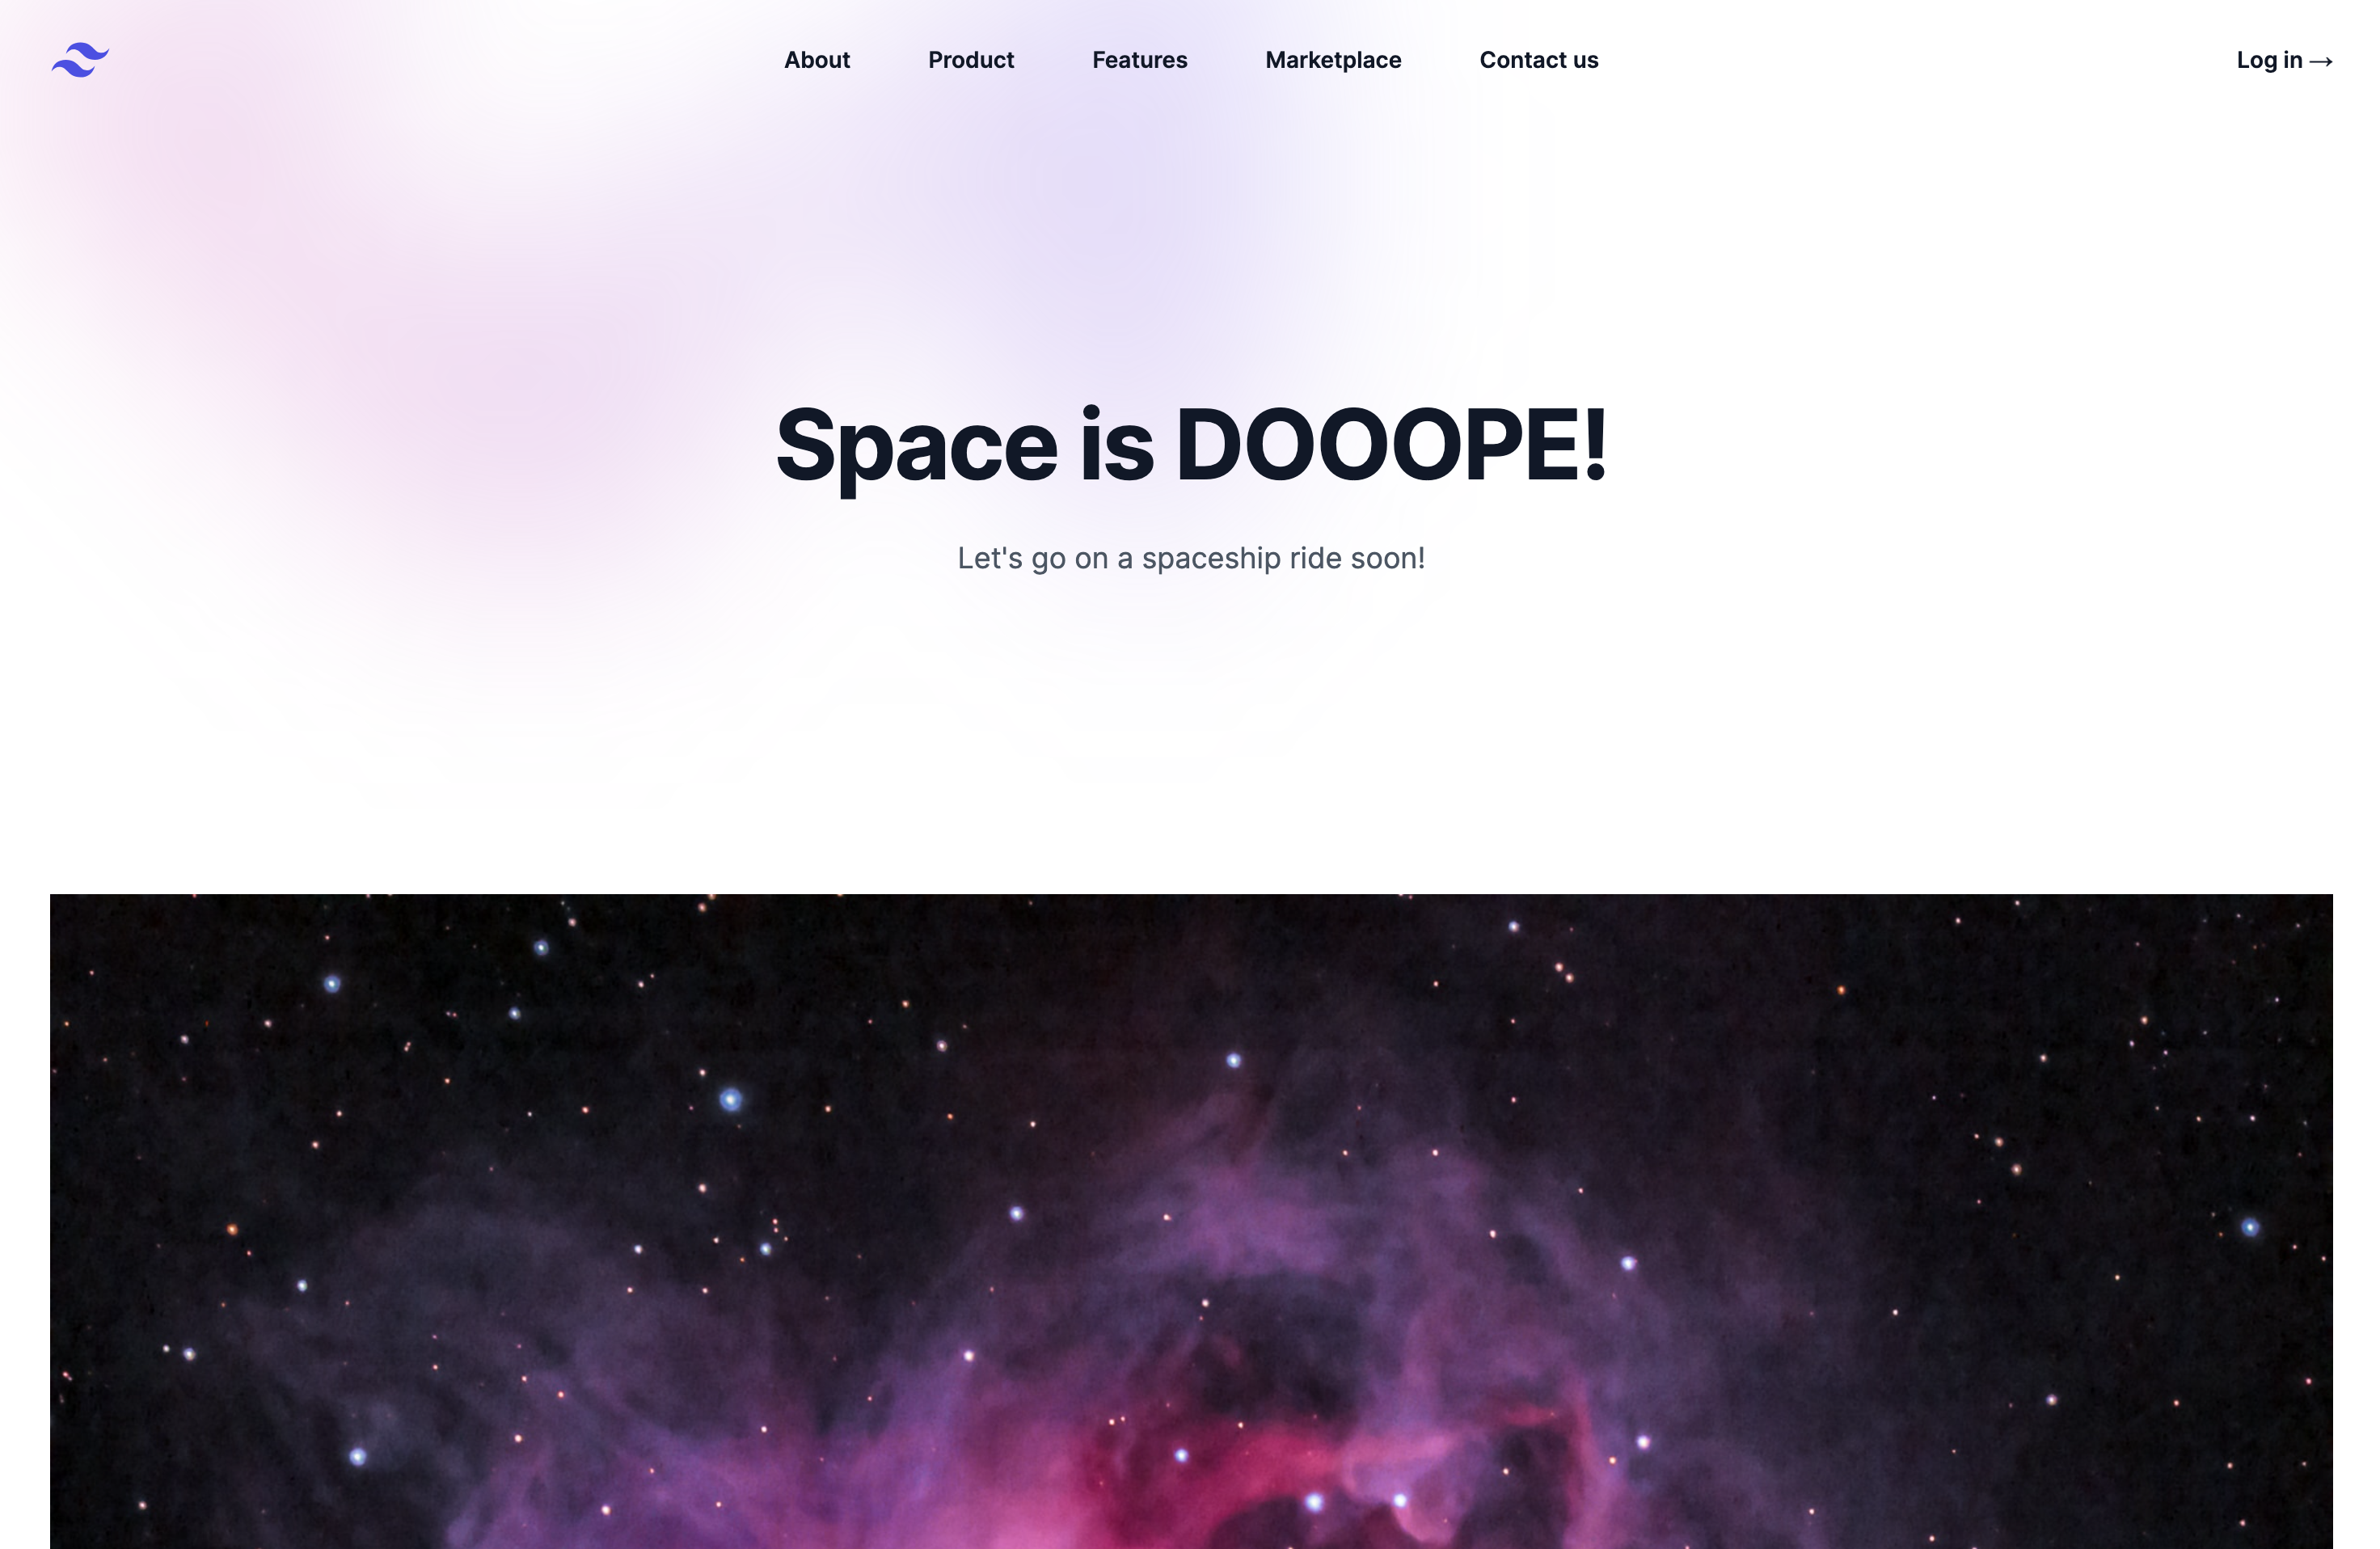
2. Copy + paste the Tailwind UI page example
To get up and running quickly, we’ll grab a Tailwind CSS UI demo page located here:
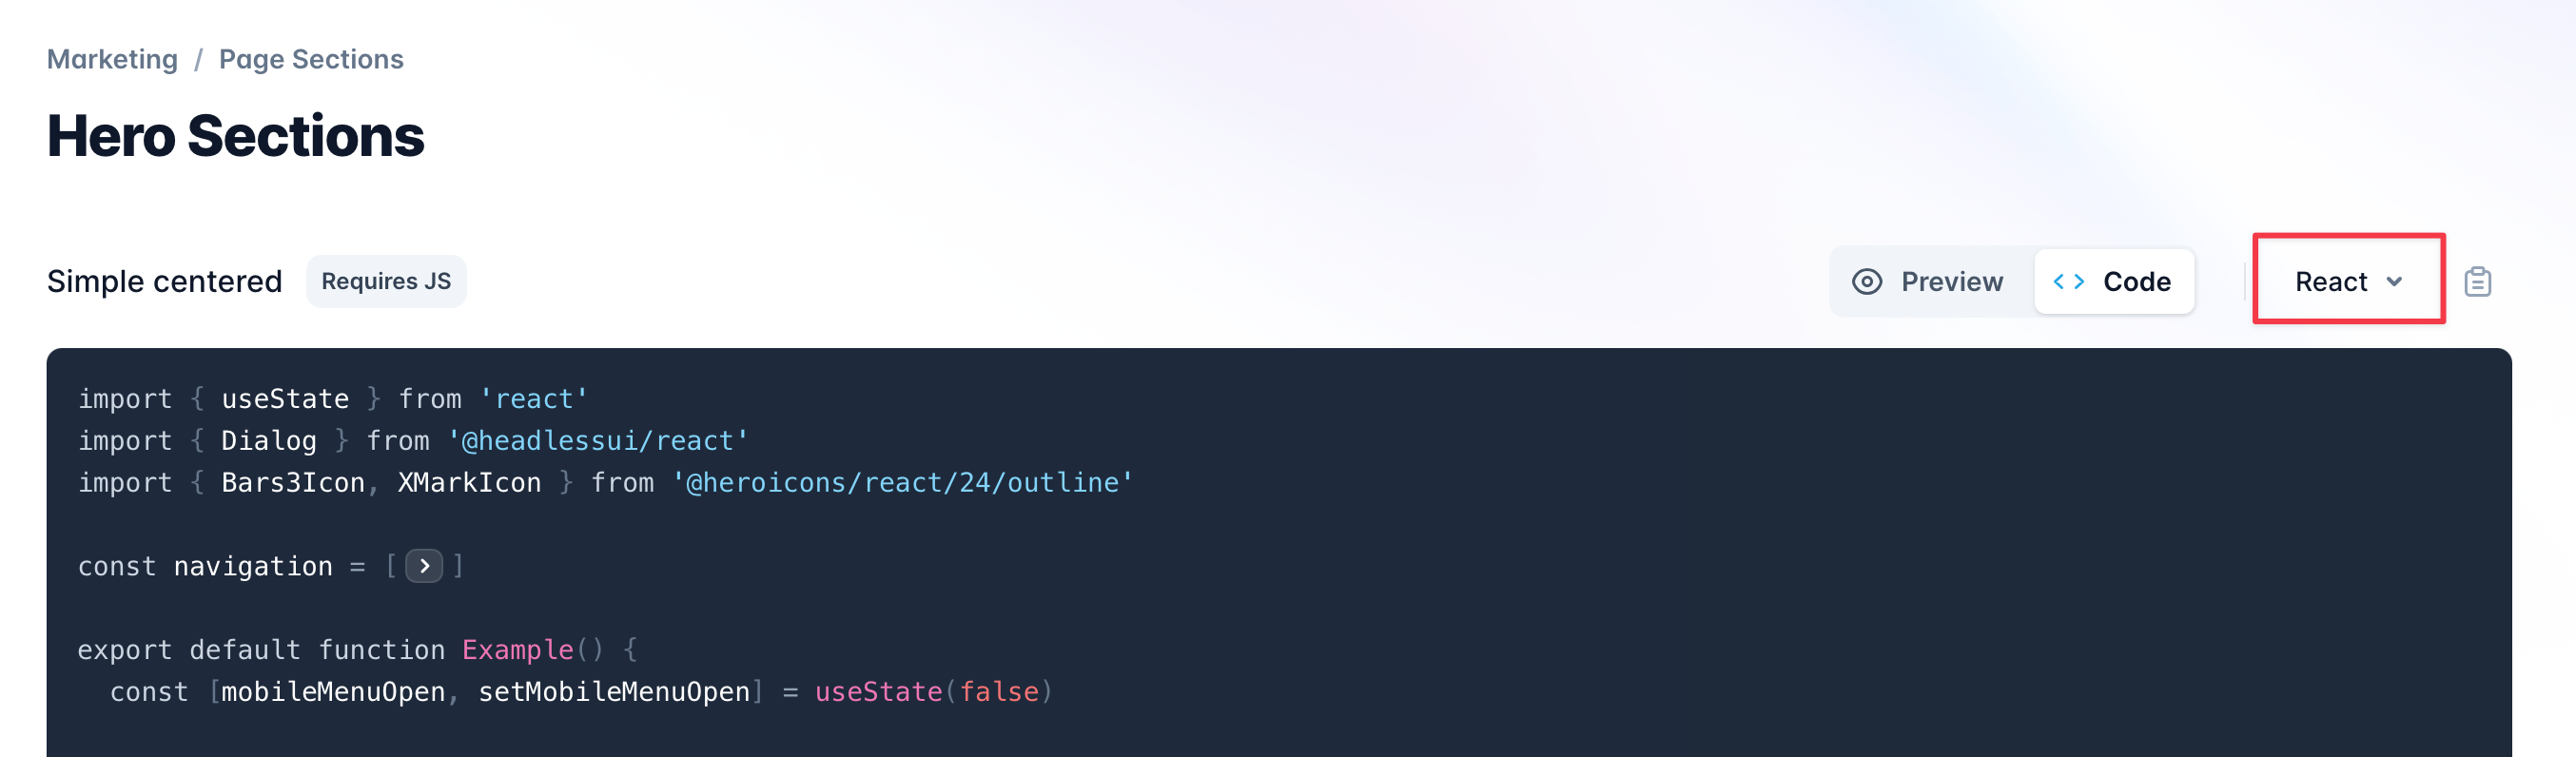
Make sure to select the React option:
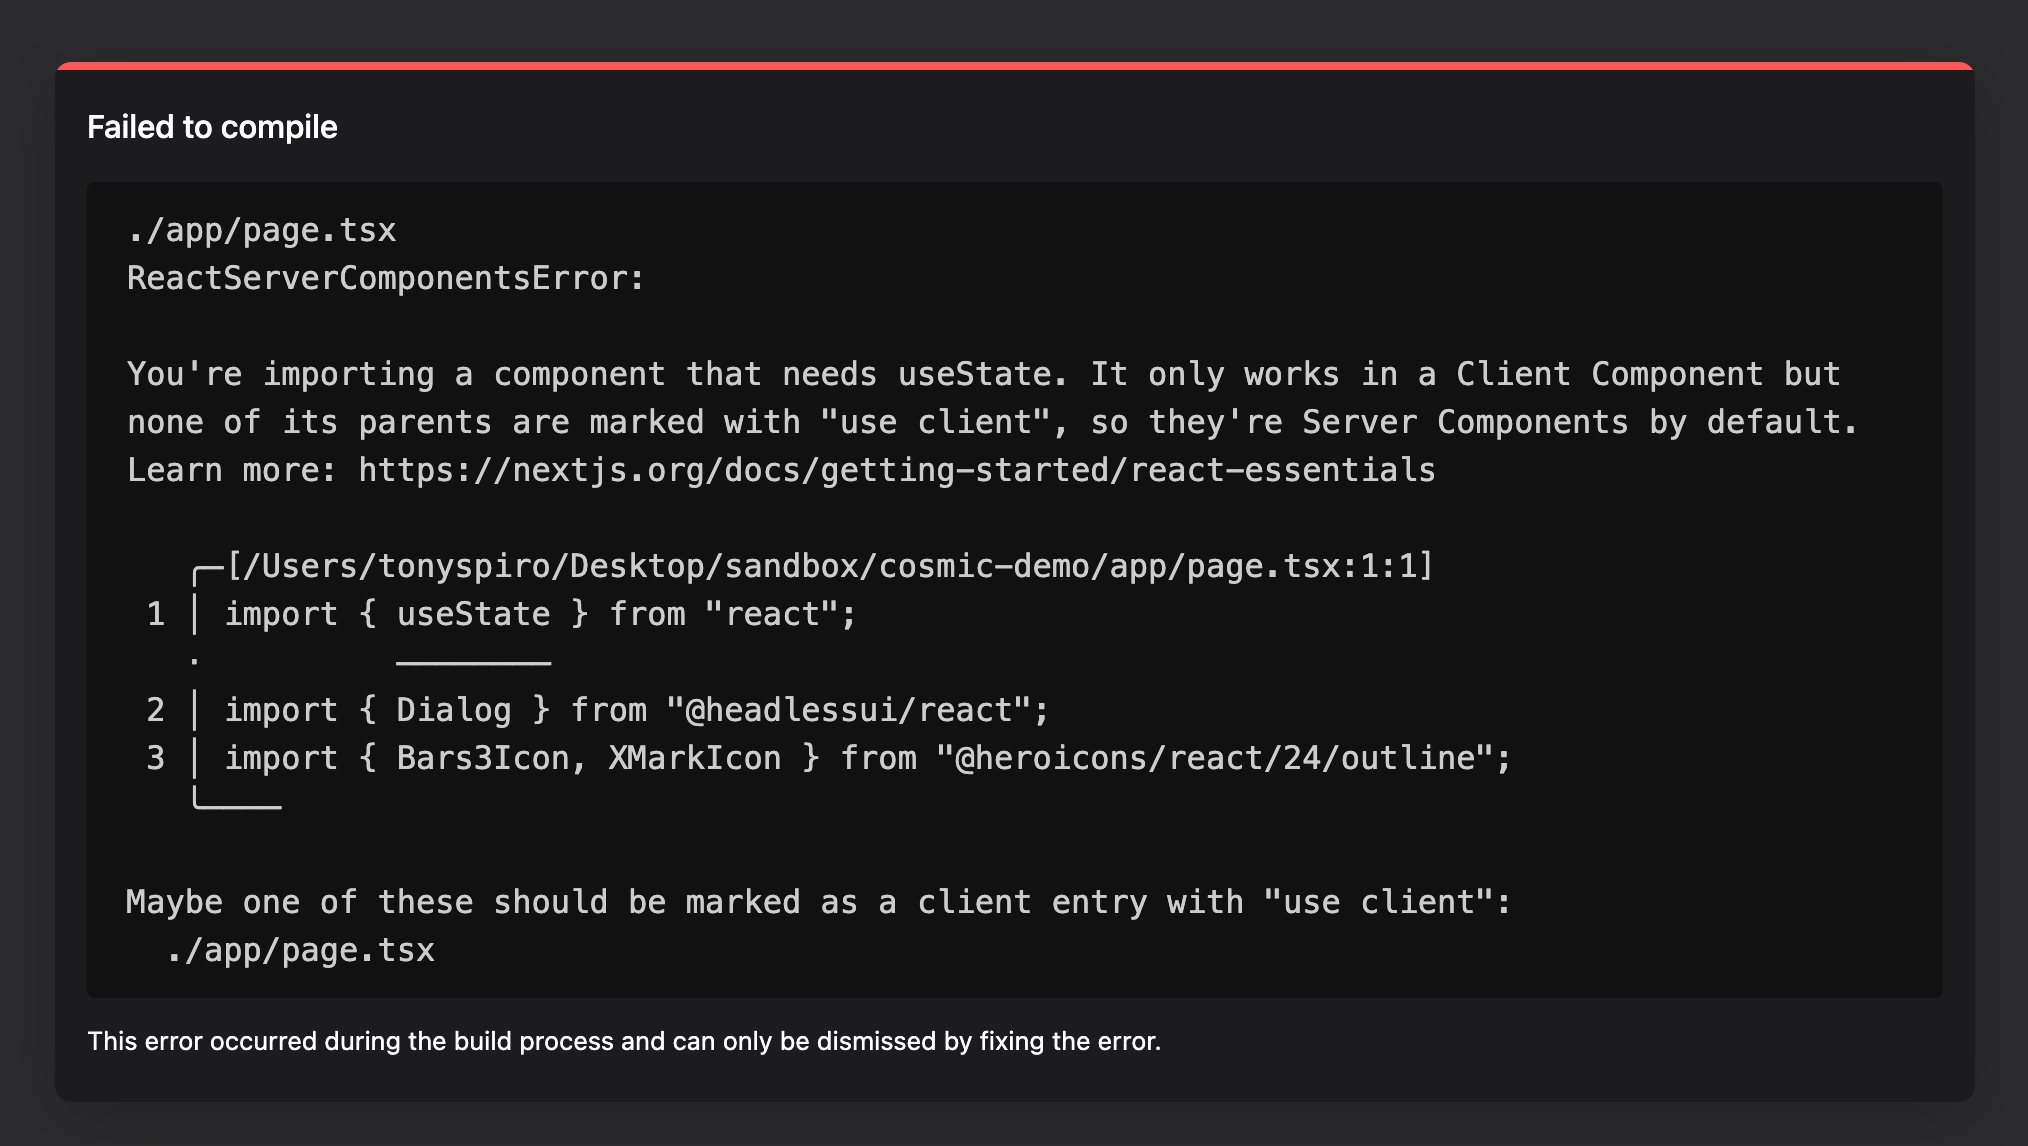
Paste it into . After saving, you’ll notice it throws an error because you cannot use lifecycle events such as or state in a React Server Component.
So we'll need to remove the client-side code from this page and move it elsewhere. But before we do that, let's install the missing dependencies:
And let’s comment out the dark style in
3. Separate the components
Since we can't use any client-side functionality in RSCs (in our case the event for opening the mobile drawer and hook which handles client-side state), we'll need to separate this functionality into client components.
Create a new folder titled and add a file titled and put everything from the tags into it along with the dependencies and state functions.
In add to the top of the file. You will see now we have client-side interactions in the nav on mobile:
But there's a problem: we don’t want to render the FULL navigation client-side because that would negatively impact SEO. Since only the mobile functionality needs to render client-side, we can put the mobile drawer into its own component.
Create a new file at and move the mobile nav client code which includes the nav button and the component and any dependencies. We'll come back to this after we power up our React Server Components with dynamic content from the Cosmic CMS.
This gives us three component files:
- - RSC
- - RSC
- - Client component
4. Add Cosmic power
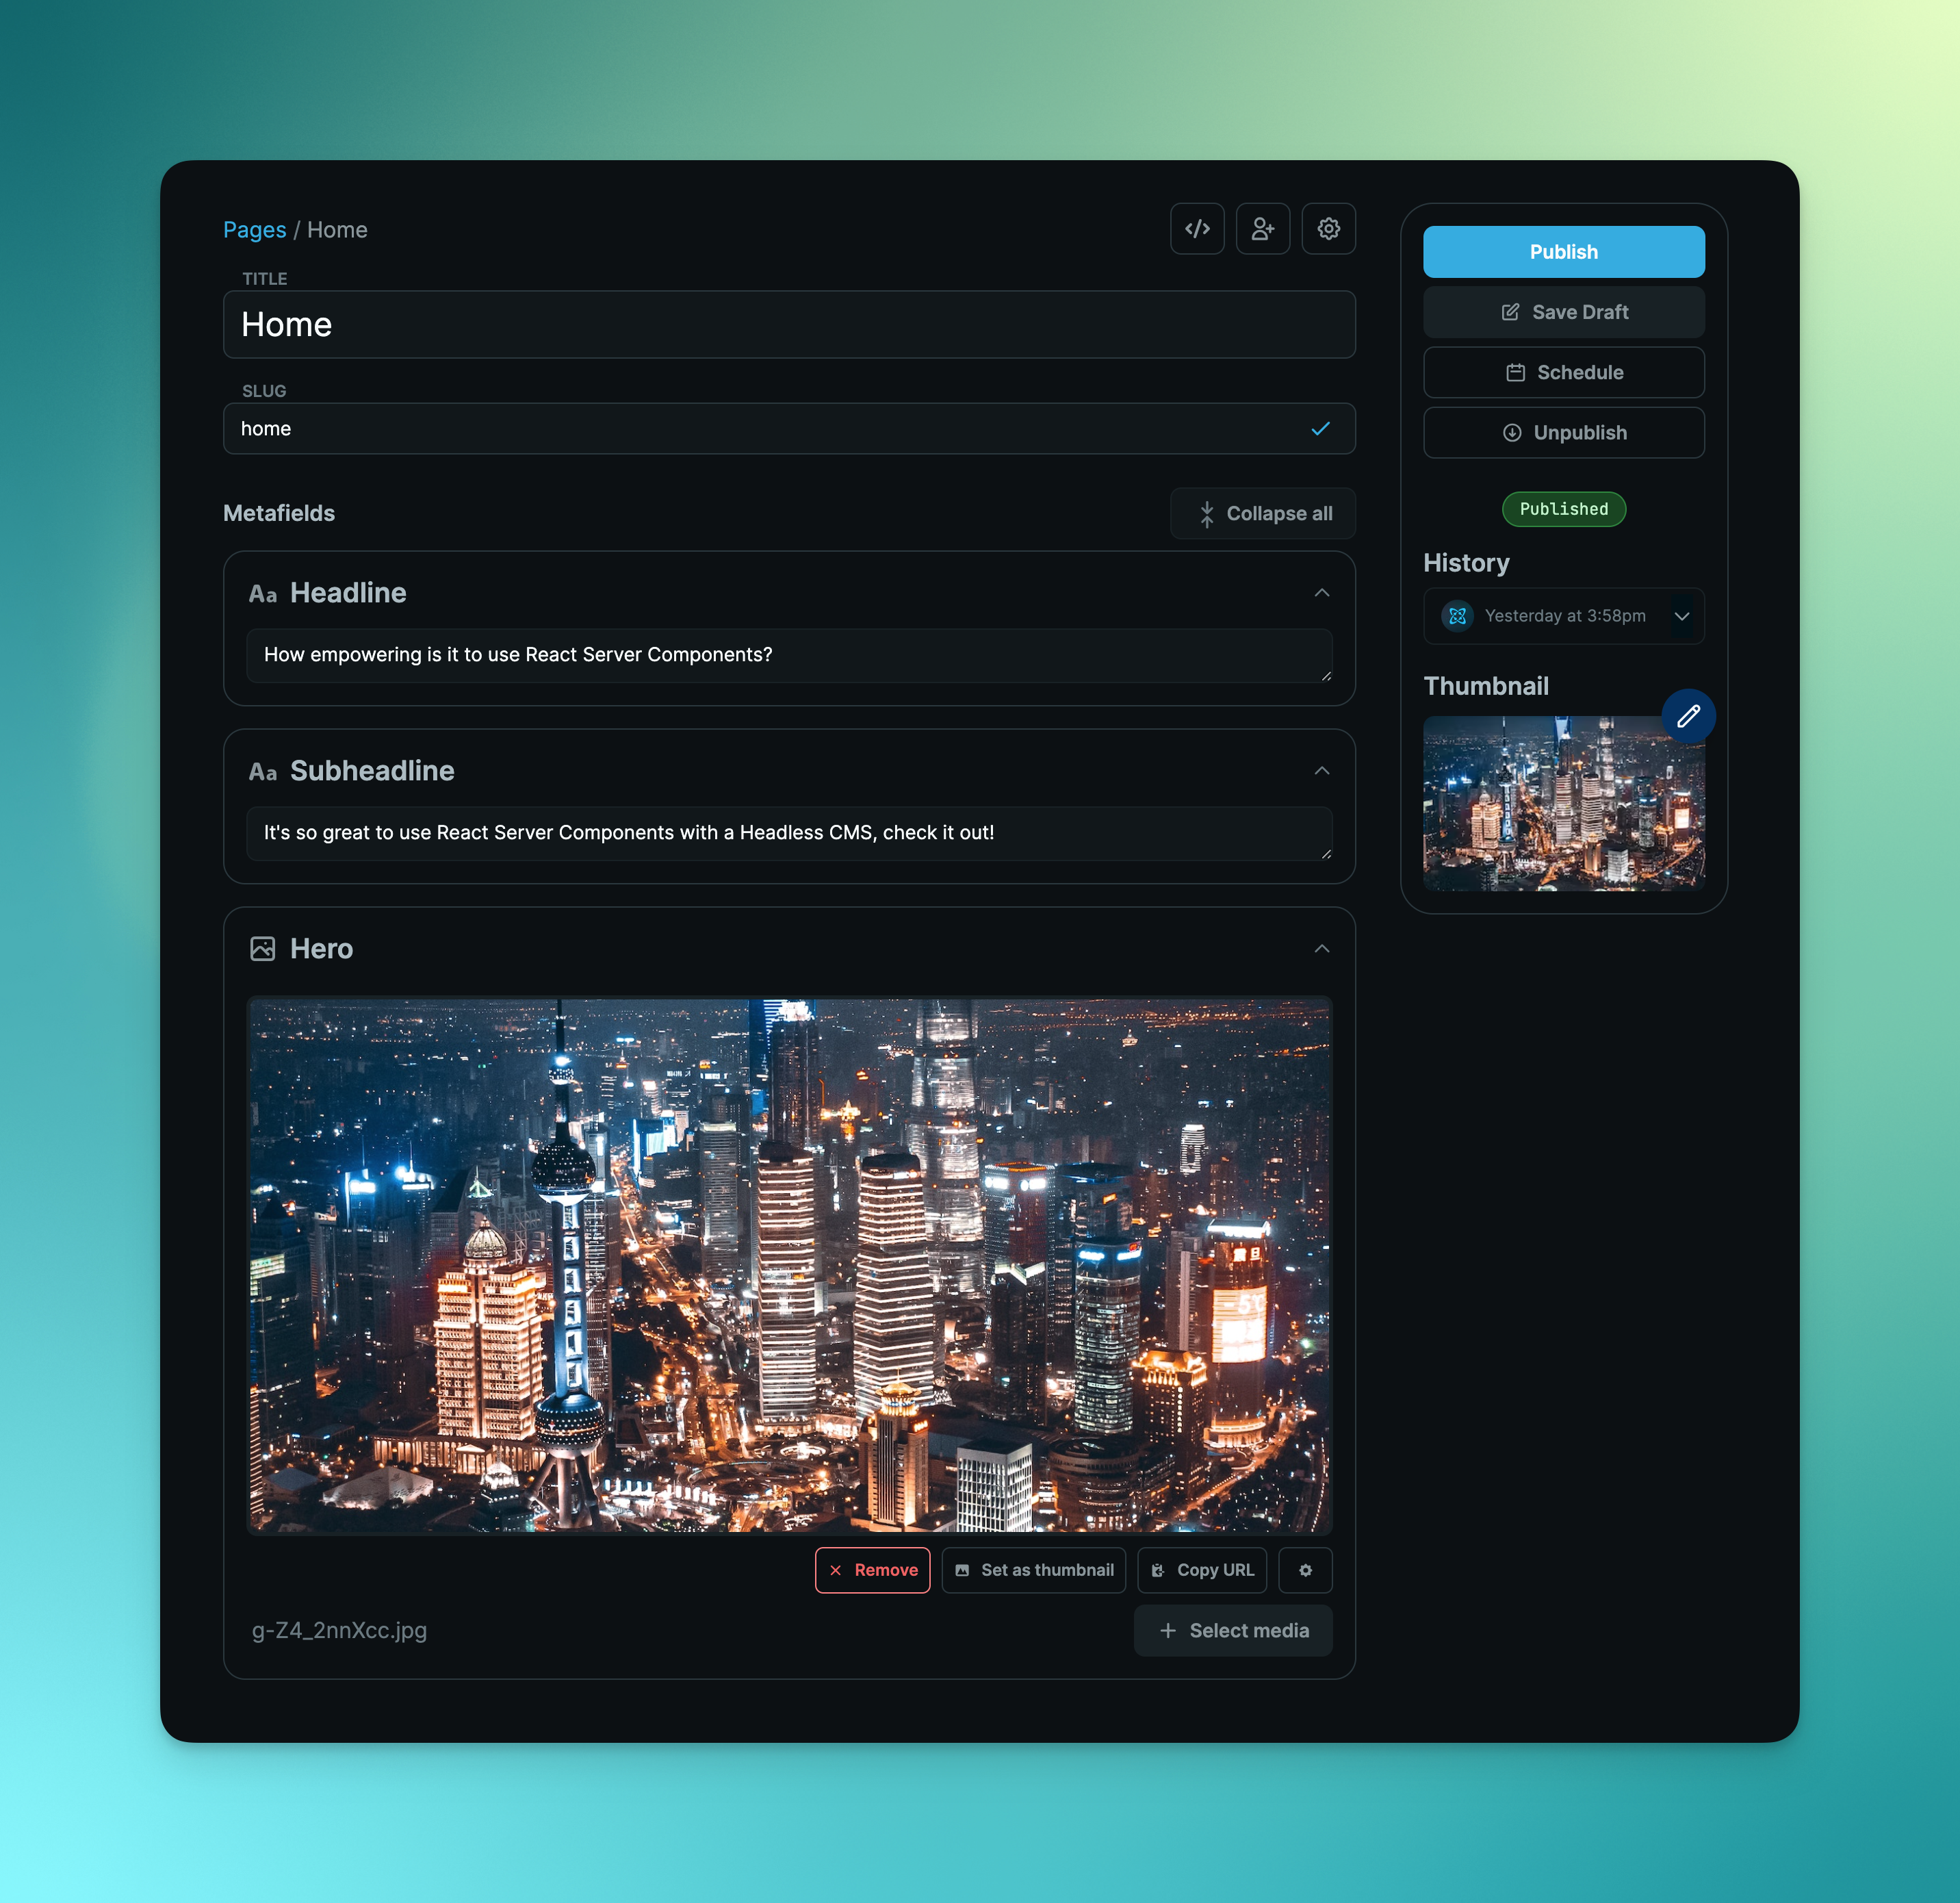
Now that we have a separation between our server and client code, let’s add the Cosmic magic. In the Cosmic dashboard, create a new Project and new Object type titled with the following Metafields:
- Headline - Text
- Subheadline - Text
- Hero - Image
Create a new Page in Cosmic titled and add any content you want.
Add the Cosmic JavaScript SDK with:
Next add a new file with the following (Go to Bucket > API keys to get your Bucket slug and read key).
Then in your file add the following (note where we add the Cosmic-powered sections).
Note here that we are exporting an function which is unique to React Server Components, enabling us to use to fetch our page from Cosmic!
The big takeaway: No need messing with , , or it Just Works™.
5. Adding the global header
You may now notice an issue: we lost our navigation. So let's add our global header back. Because we’ll want to have the header navigation show up globally on all pages, let’s add it to our file:
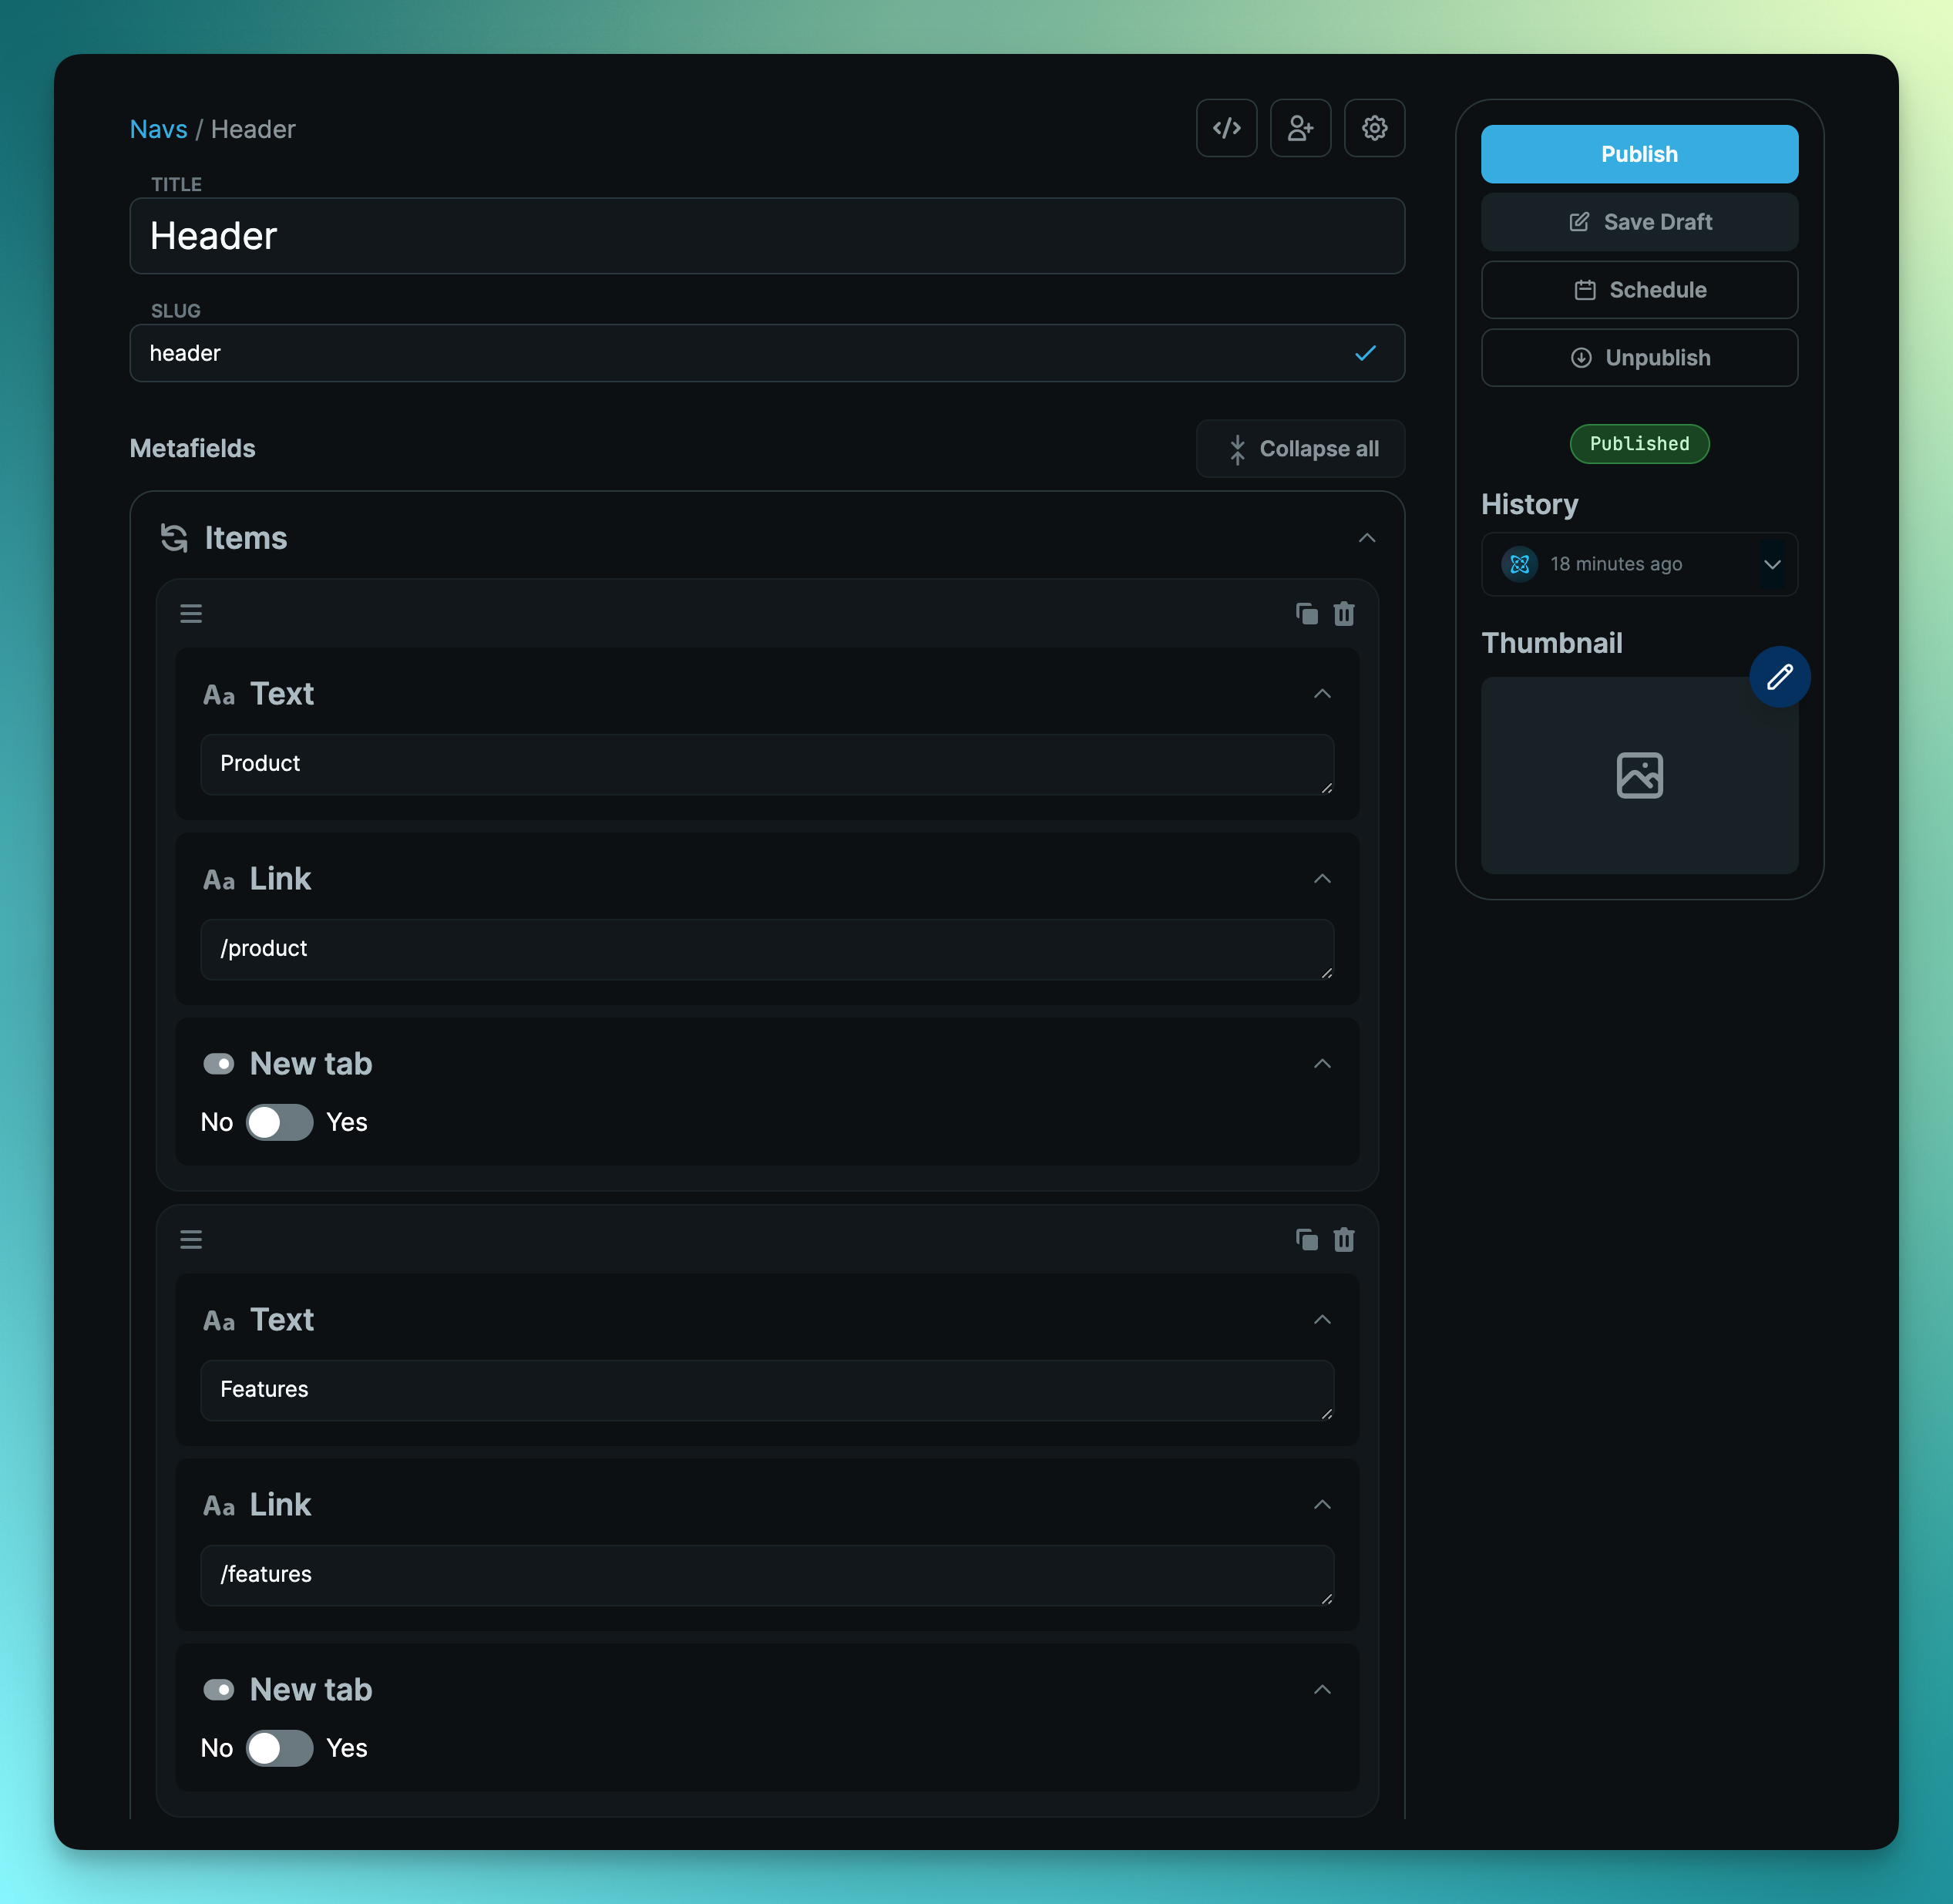
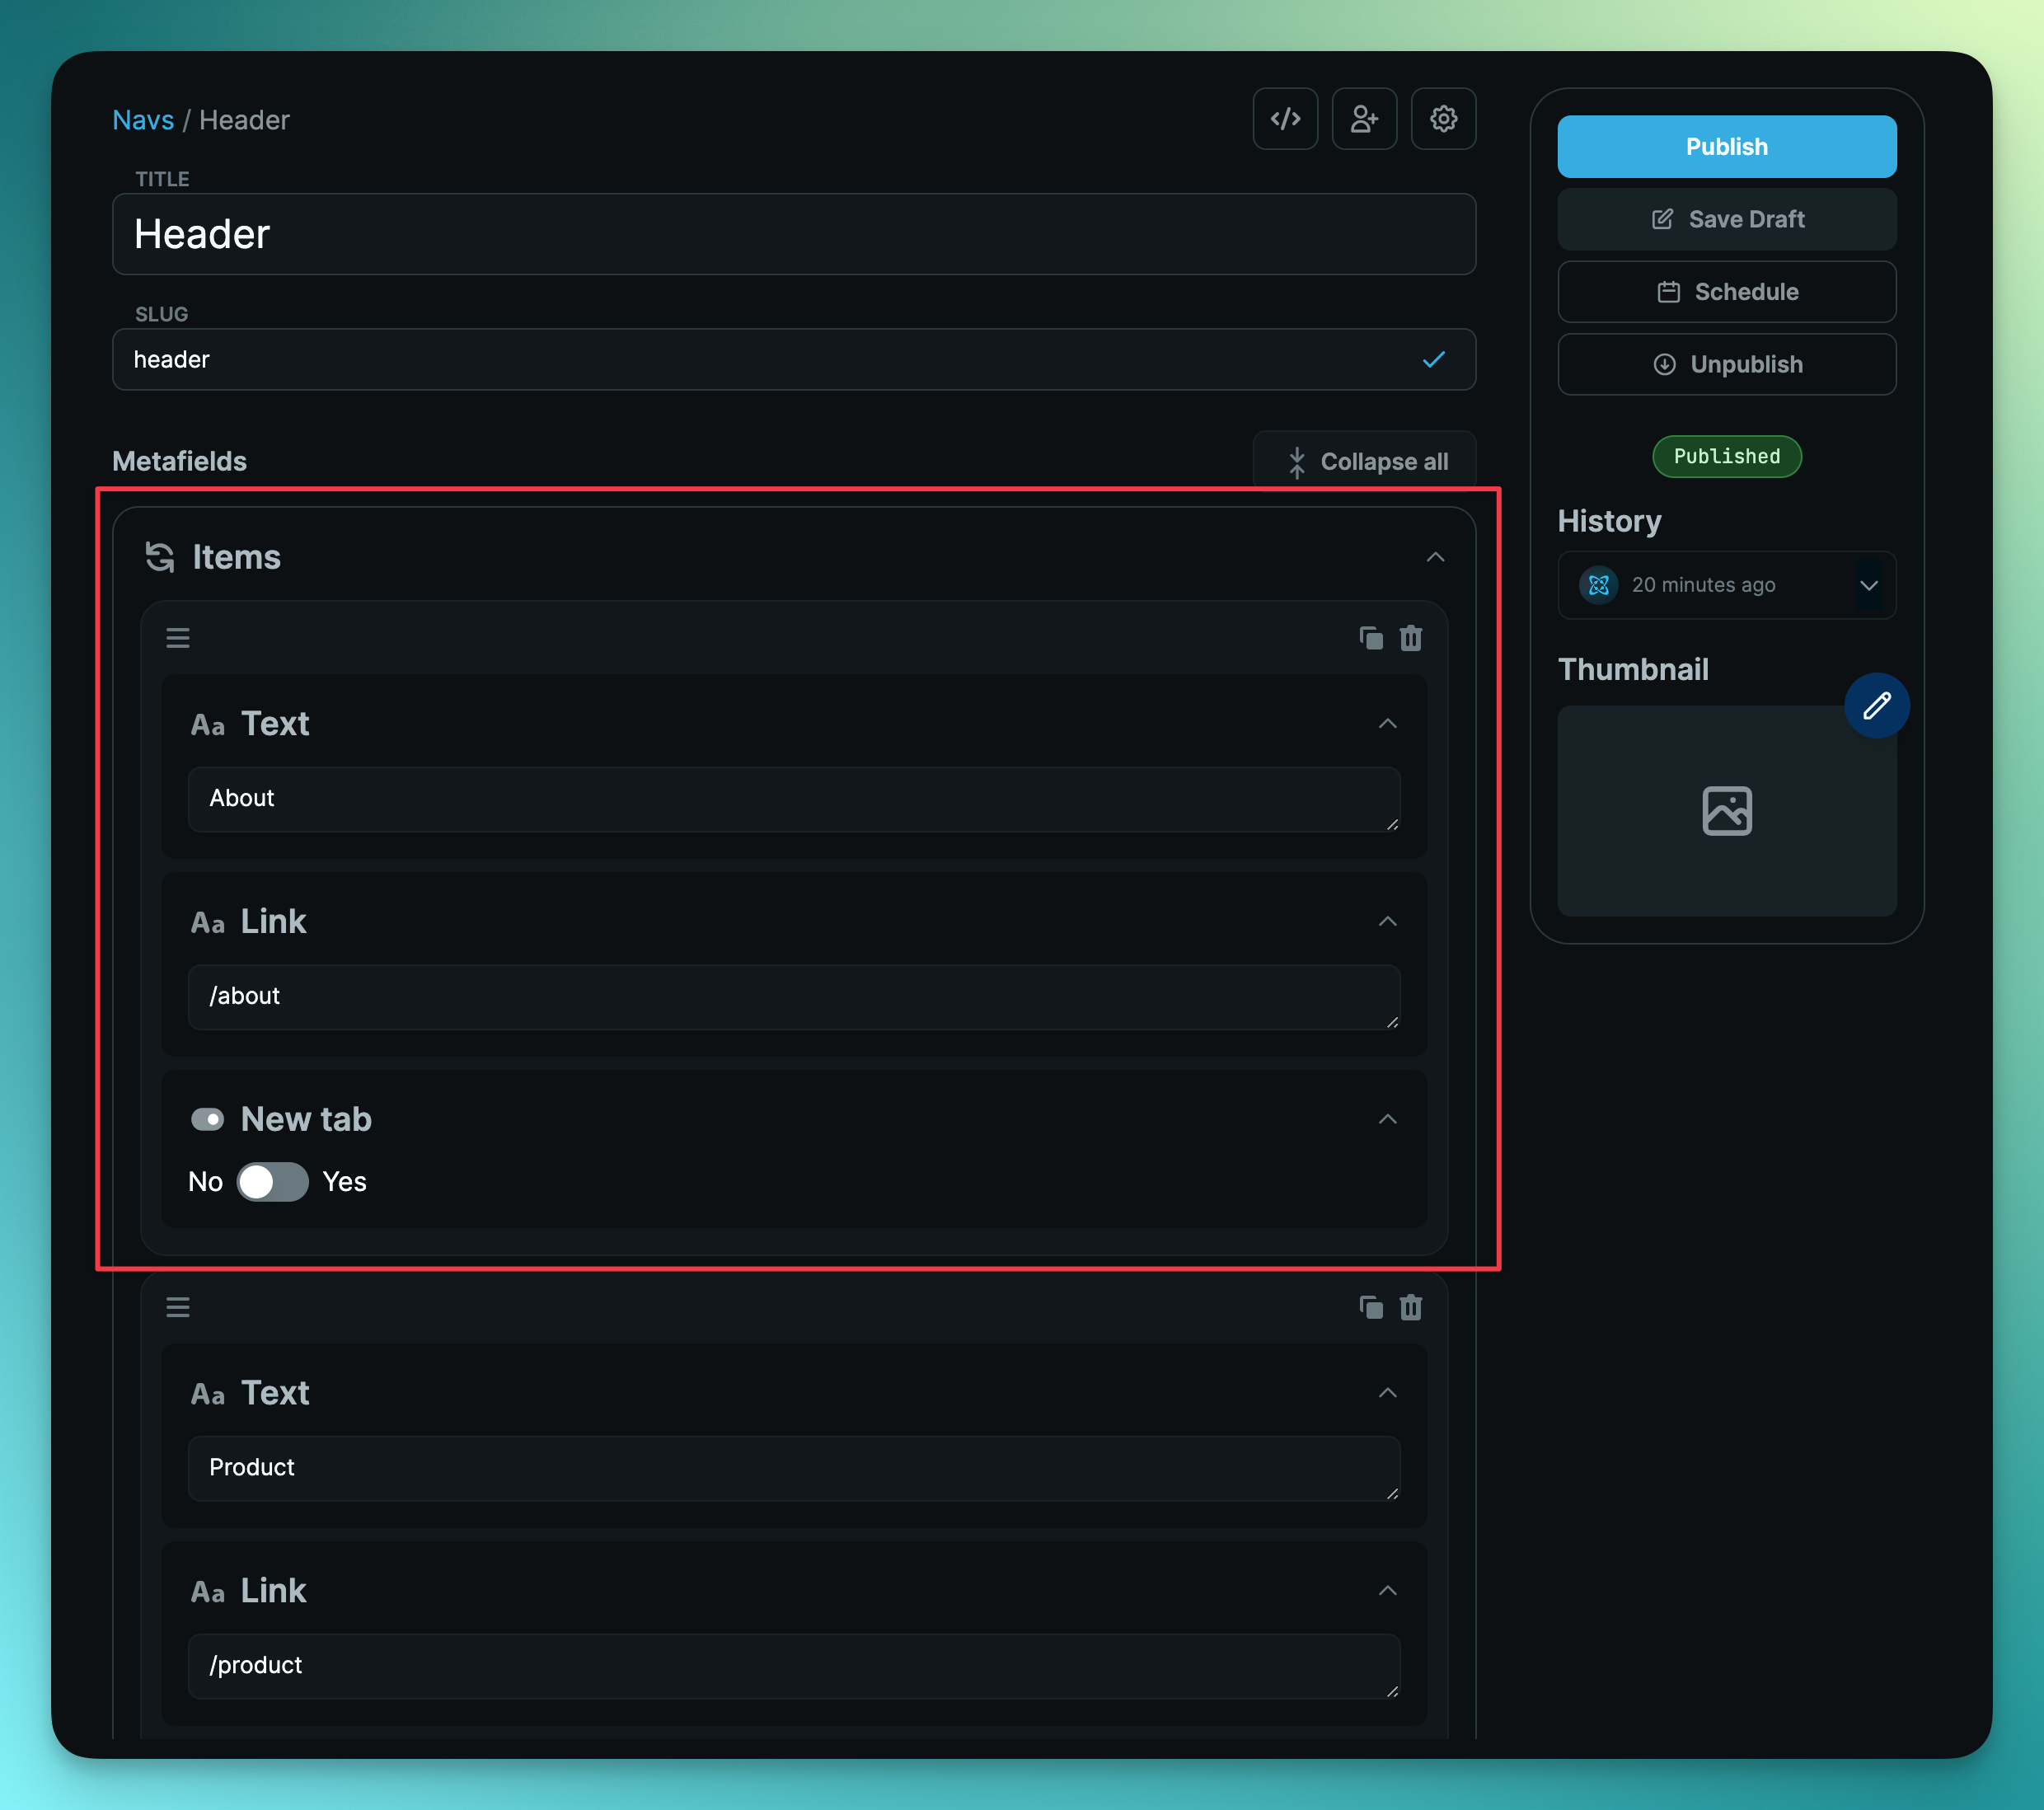
Next let’s add dynamic content to our nav elements. In the Cosmic dashboard, create a new Object type titled with the following Metafields:
- Items - Repeater
- Text - Text
- Link - Text
- New Tab - Switch (boolean)
Next create a new Object titled and add some content.
Then add the following to your file:
Next add the following to your file:
This is now our only client-side component and receives the Nav items from Cosmic via props.
6. More pages
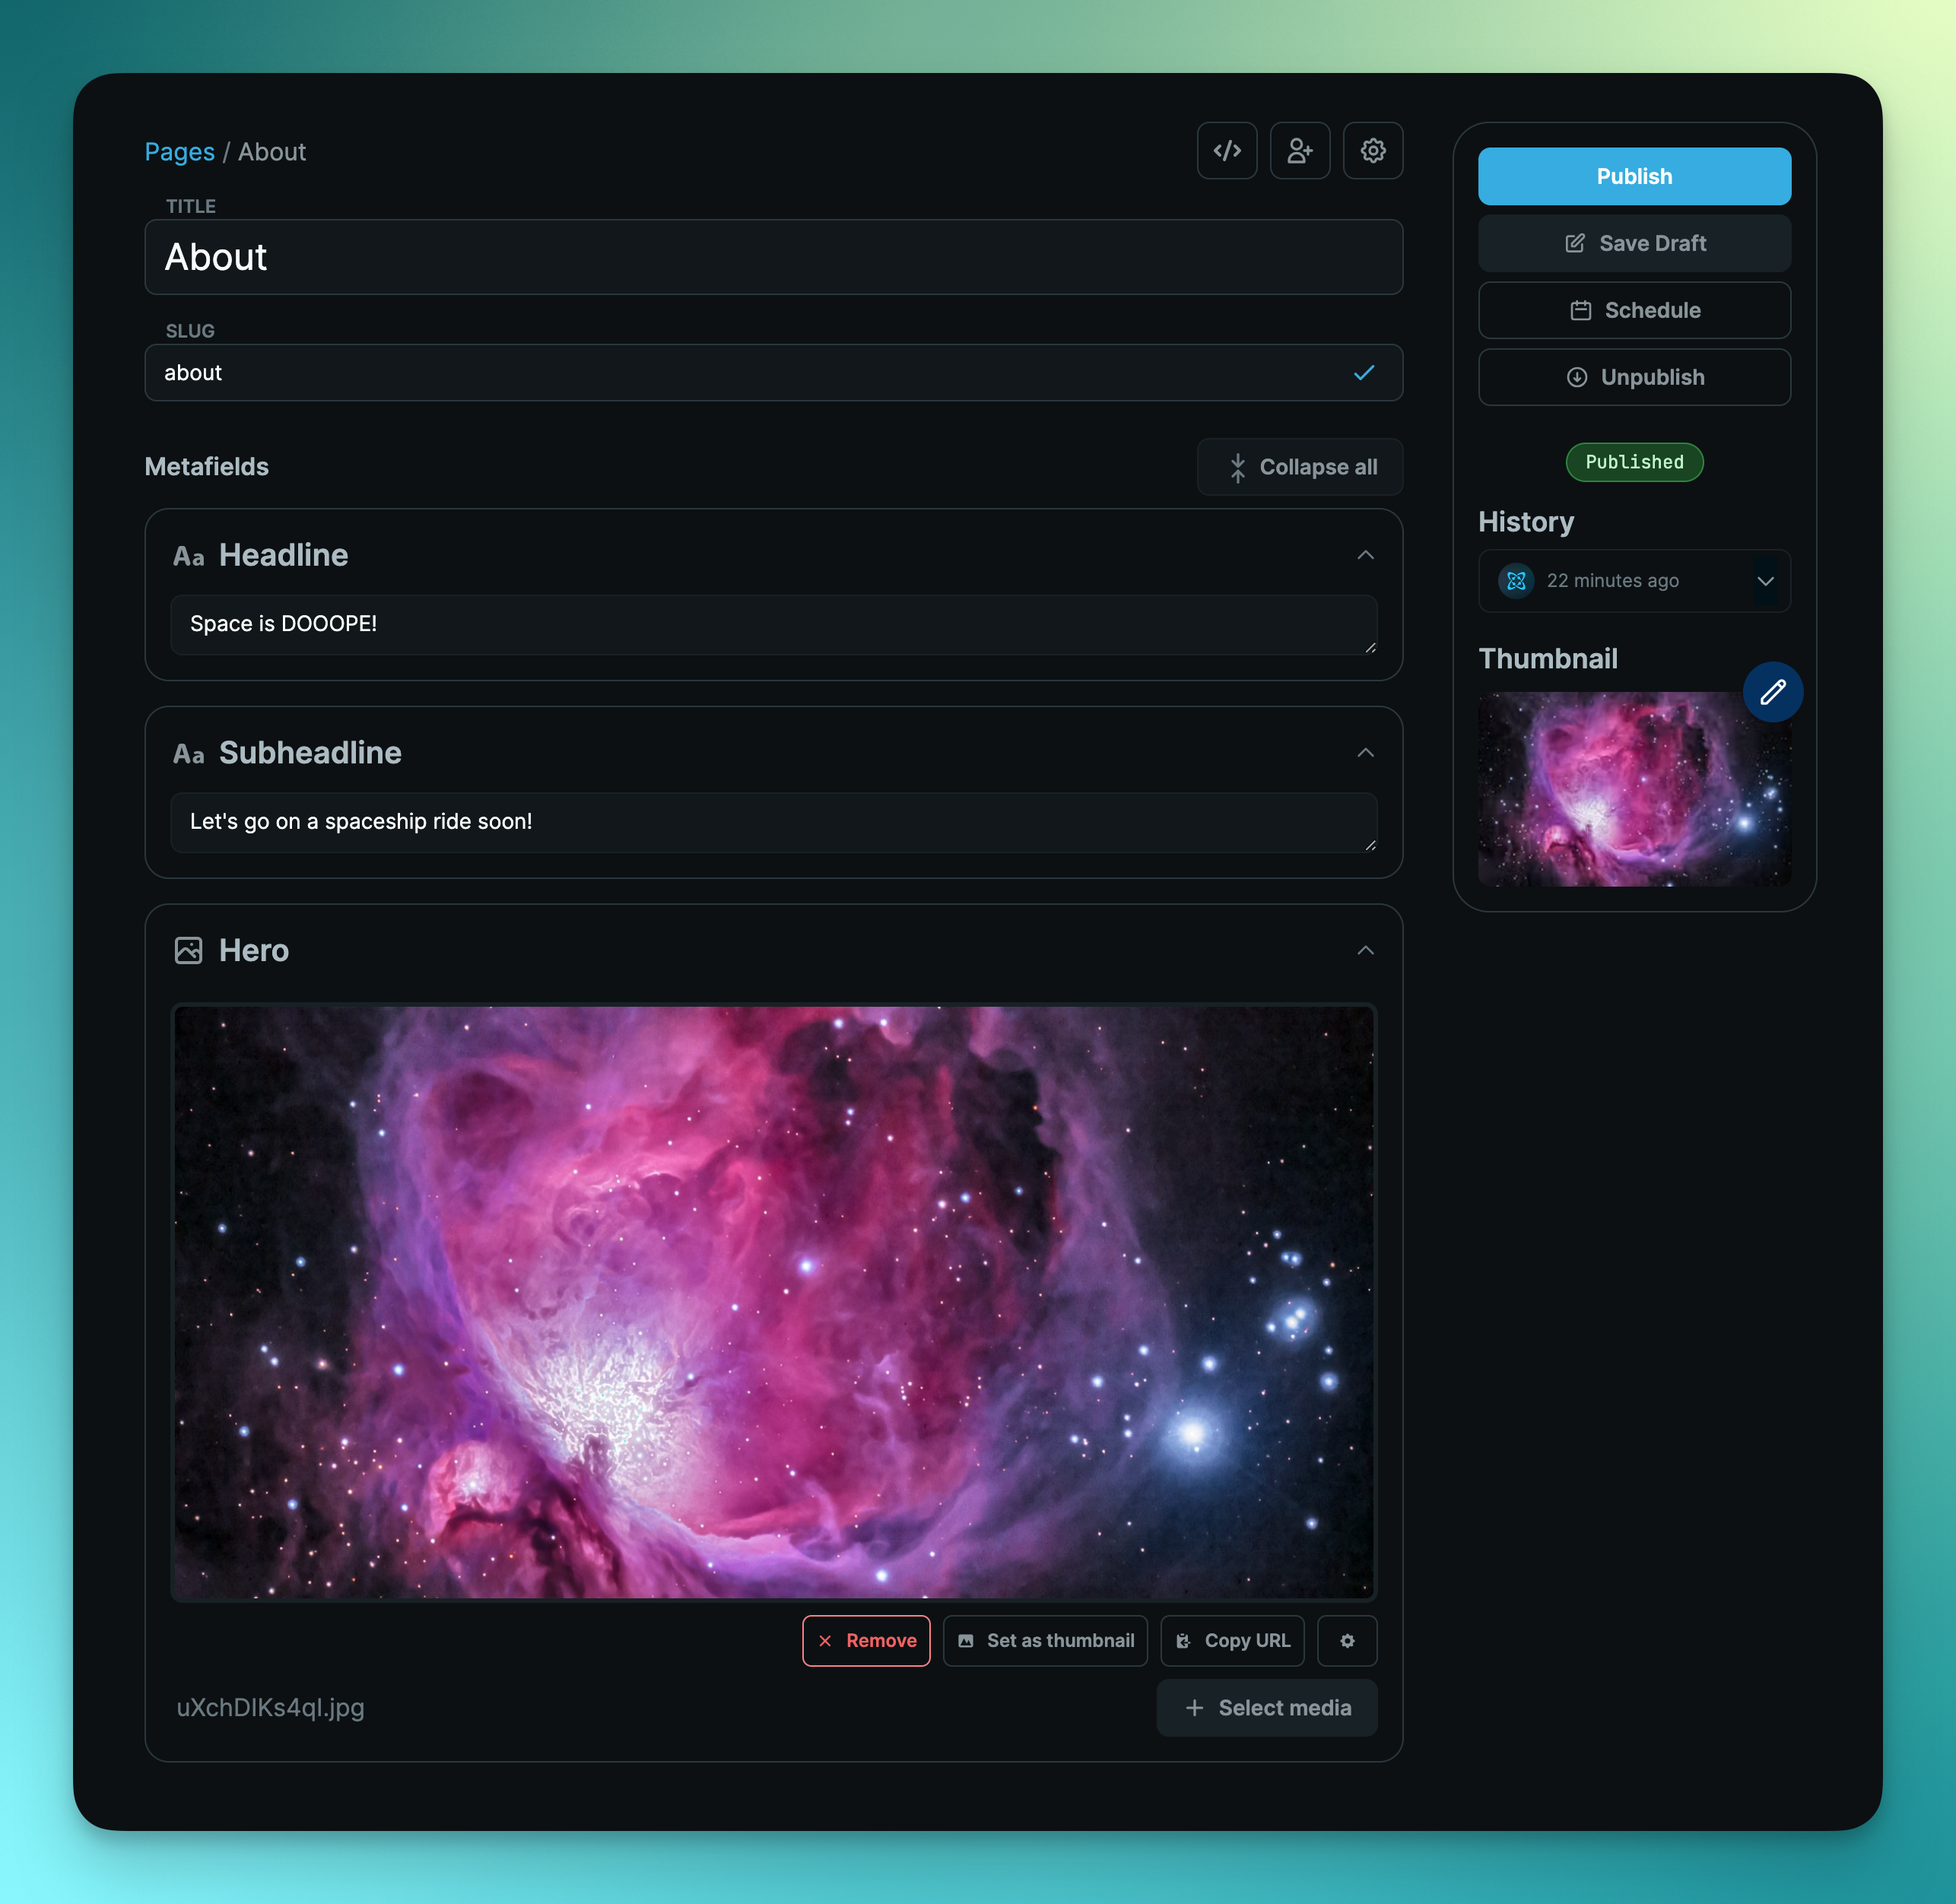
Now what if you want to create another page? Easy, go into Cosmic and create a new page titled with whatever content you want:
Then create a new file located in (notice the folder name is the page slug).
Then add a new nav item in the Cosmic Object so you can get to it.
Click on the new nav link and your page is now there!
Notice that our global header is available on all pages because it was added to our file. And because is a React Server Component, it can fetch the CMS data directly, without having to do so on the page level which is also quite nice!
Another thing to note is that since the component is rendered in the layout and the navigation links use the Next.js element, it doesn’t refetch the data when you navigate between pages.
Conclusion
I hope you enjoyed this exploration of using React Server Components with a headless CMS. We covered:
- When to use React Server Components and when to use client components.
- We noted some of the benefits this new component structure offers when fetching data from a headless CMS. Specifically, we indicated that we can simply fetch data with an function without having to use any pre-RSC methods in Next.js such as , , etc.
- We also noted how RSCs make it easy to reuse data-powered components since the components themselves can fetch data server-side (for example our component).
React Server Components with Next.js makes for a simplified and improved developer experience when using a headless CMS.
Links
- Follow along with the video.
- To learn how to manage content for your websites and apps with Cosmic, which makes a great Next.js CMS, sign up here.
- To learn more about React Server Components, I recommend this extensive article by Josh W. Comeau.